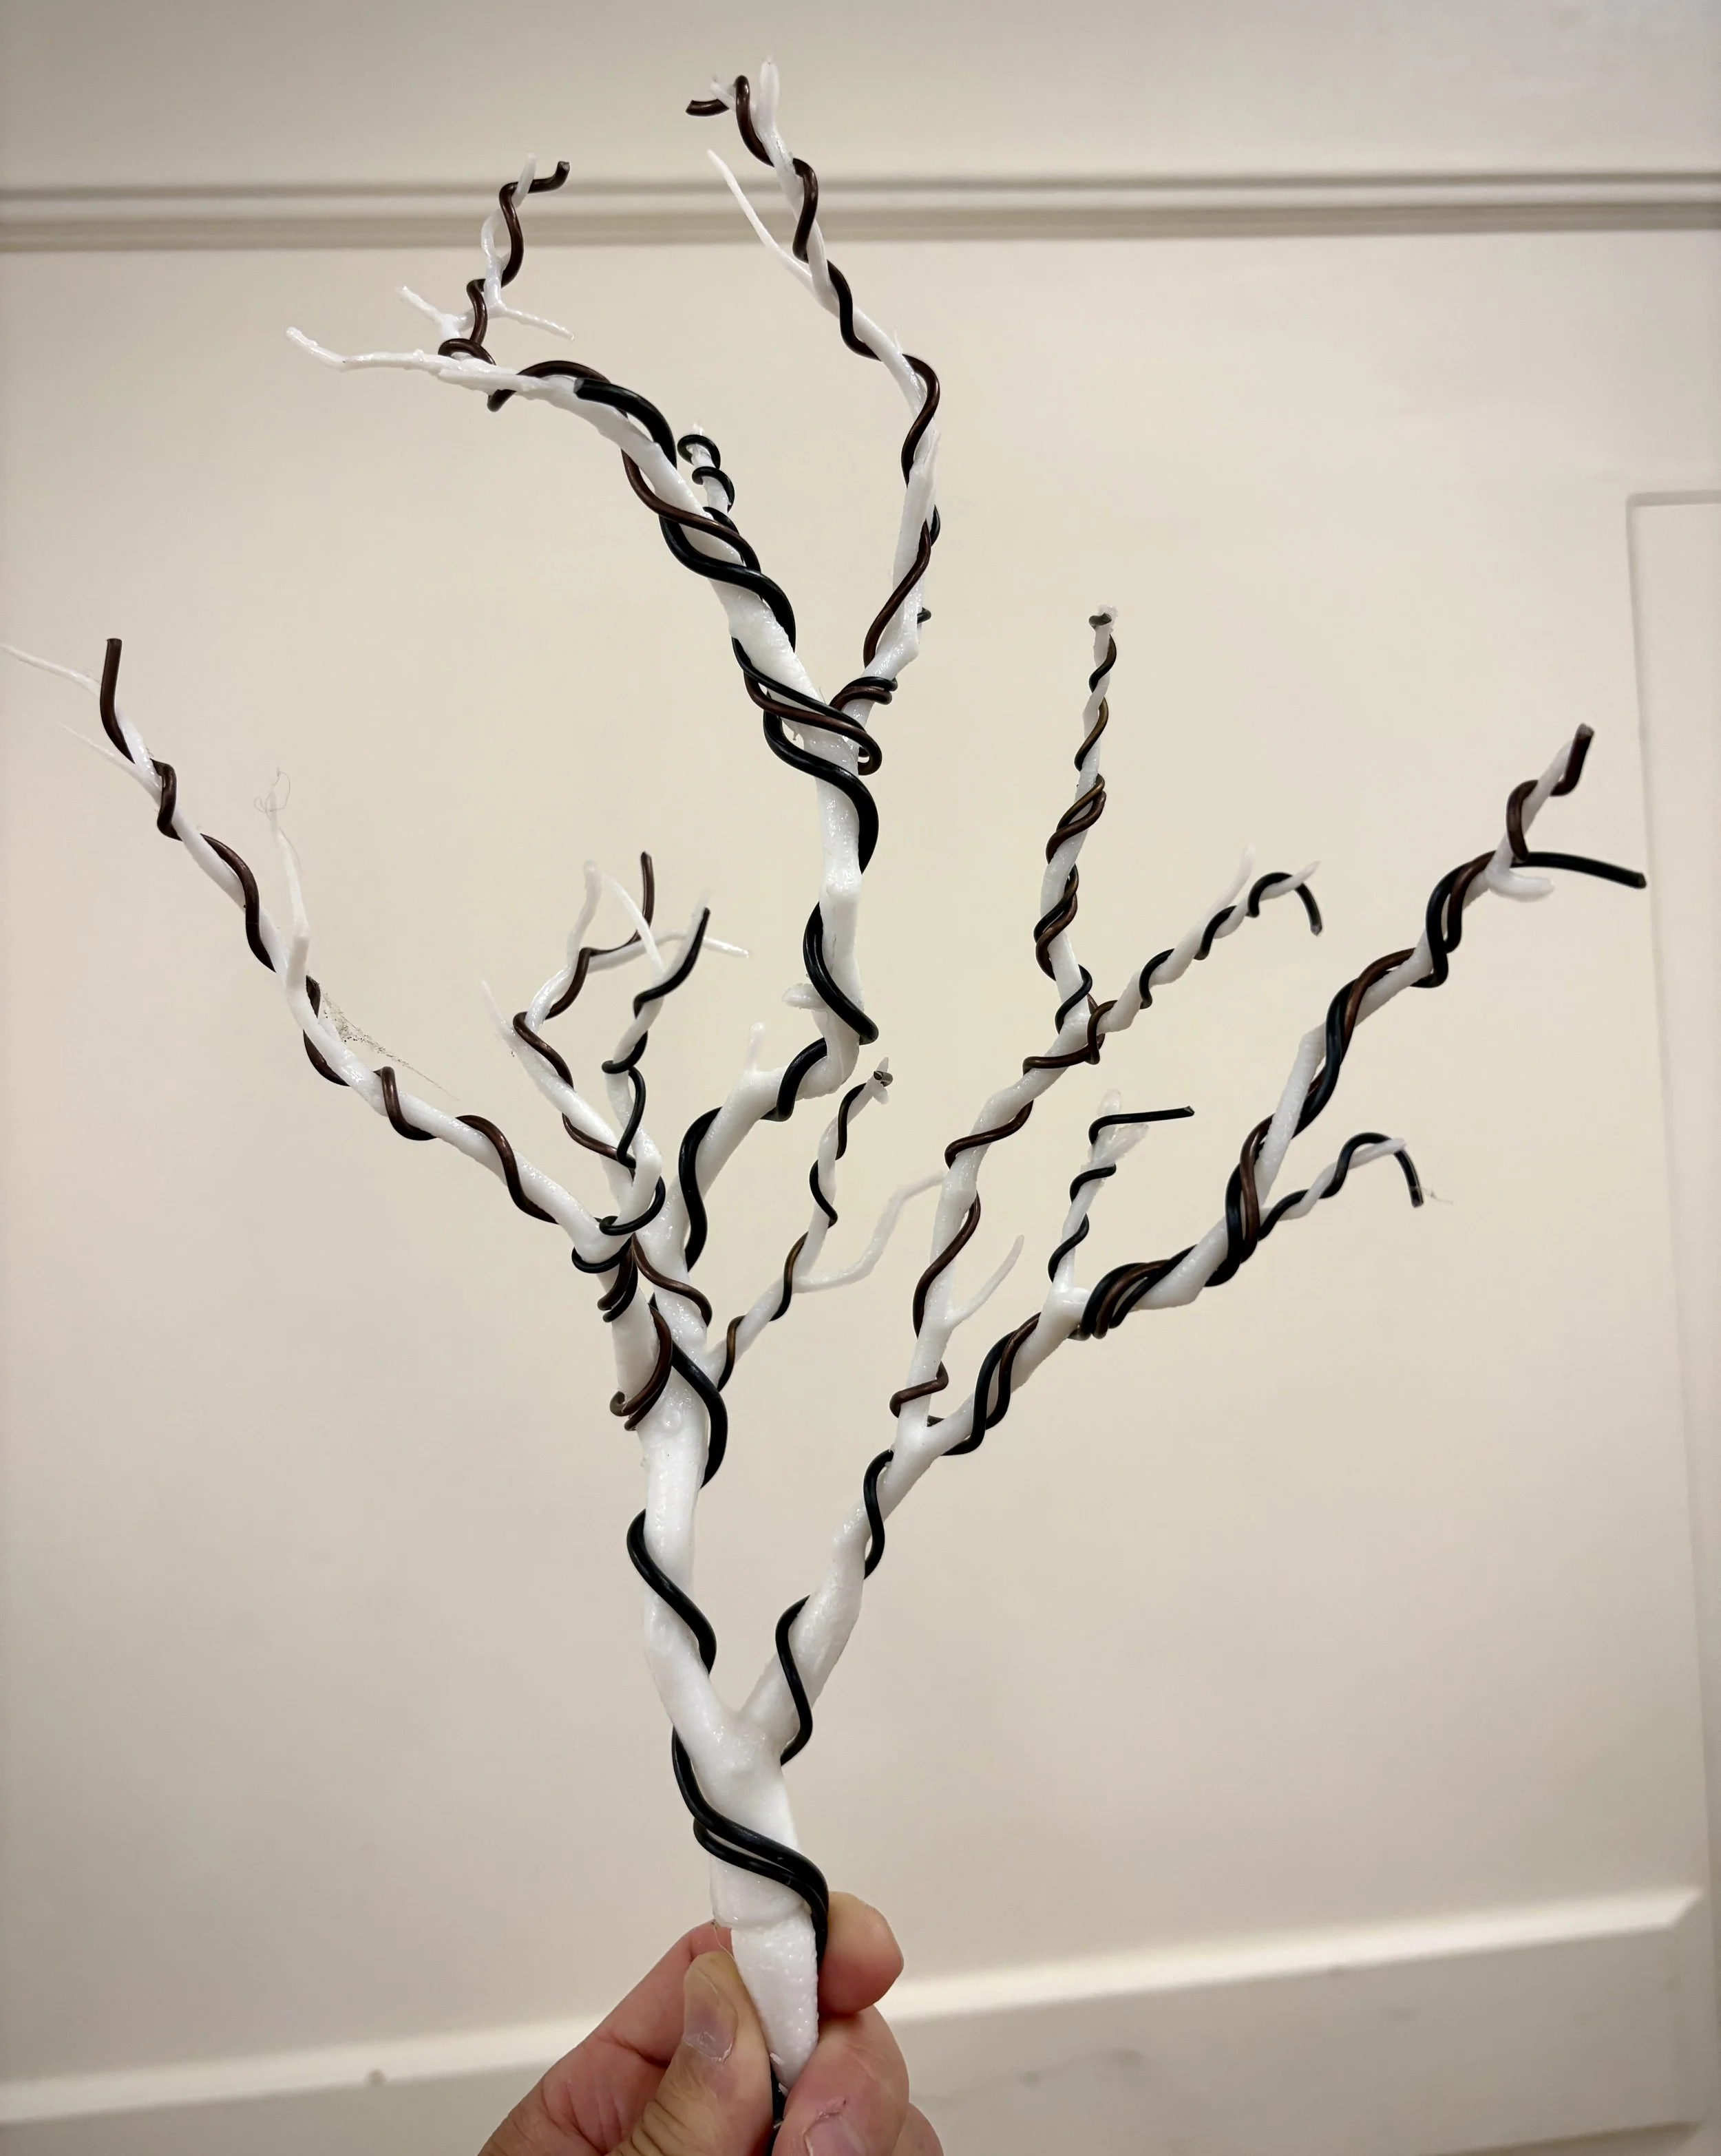
Wiring Guidelines — JT
Written by John “JT” Thompson
Wiring begins with tree cleanup and assessment.
Fingers, scissors and tweezers.
Remove inactive foliage, dead twigs - snags and stubs -for a clear, smooth wiring surface.
Check for cracks and older dead wood that may split if not properly supported.
Test branch flexibility- Pre-bend branches - exercise (but not back and forth)the branch before applying wire - can increase the amount of bend you can get once wire has been applied.
ID tree's development stage & shaping alternatives: i.e. pruning only; tie-down; spreader; turnbuckle; Wiring, or a combination of these.
Work out where and how you would like trunk and branches moved for your design.
Wiring sequence and Size selection.
Wire cutters and pliers.
Wire the tree up from the base and out to the tips of the branches. Conversely, remove wire by either uncoiling or cutting in pieces from the outside in and from top to bottom.
Do not use the same wire from the base to the tip of the apex.
Change wire size to mirror the taper of the tree. Transition from heavy wires for trunk and major branches to lighter wire for smaller branches and twigs. Continue a heavier wire 1 ½ - 2 spirals past a branch so that you can then lay-in the next smaller sized wire next to it and have a good anchor for maximum bending capability.
Don't use under-sized wire for large branches or over-sized wire for small branches.
Plan to wire 2 branches of like size with 1 piece of wire.
Use the size wire that will make the bend you need at any given point on the tree!
Generally select the size of wire that is about 1/3 to 1/2 the branch diameter of copper wire on conifers or 1/2 to 3/4 aluminum on deciduous trees and a length about 1 ½ times the distance to be wired (include both branches and interim trunk section). For thicker branches it is safer to cut a longer piece than one that is too short!
Set yourself up for successful wiring.
(For a right-hander)
Wiring should be effective, minimal and neat. Try not to cross the wires. Wire towards yourself so keep the target branch pointed towards you.
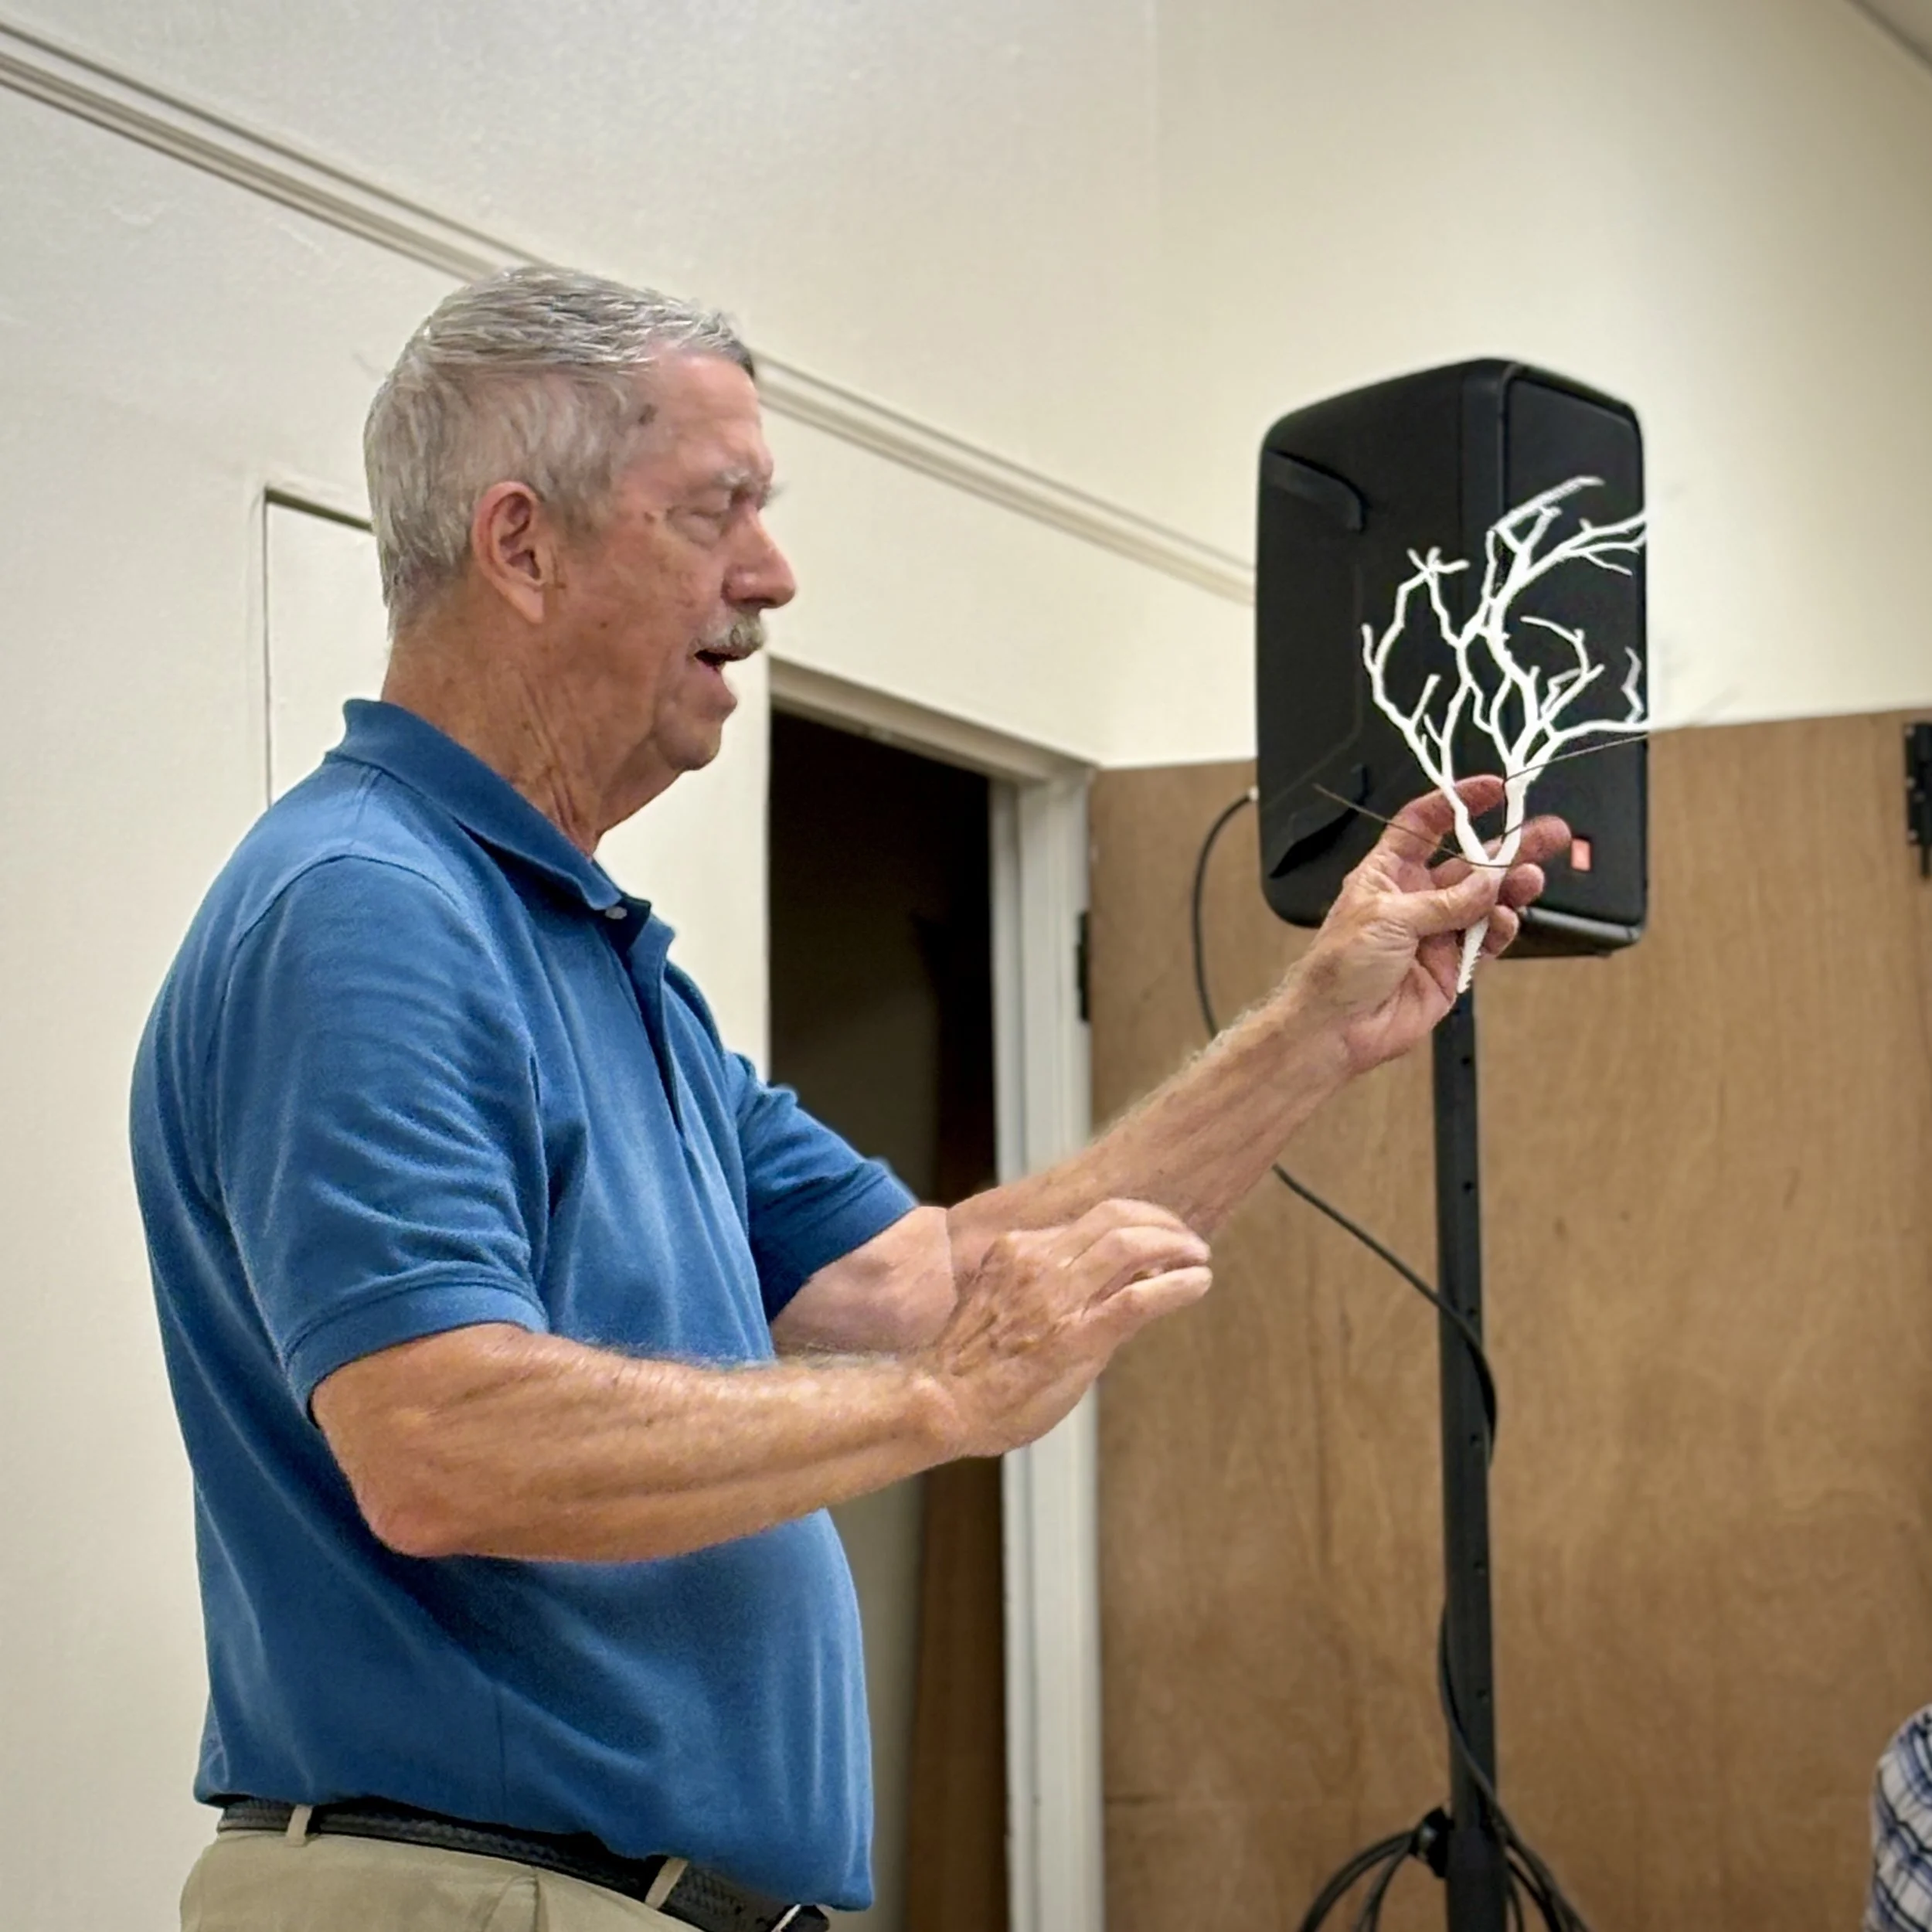
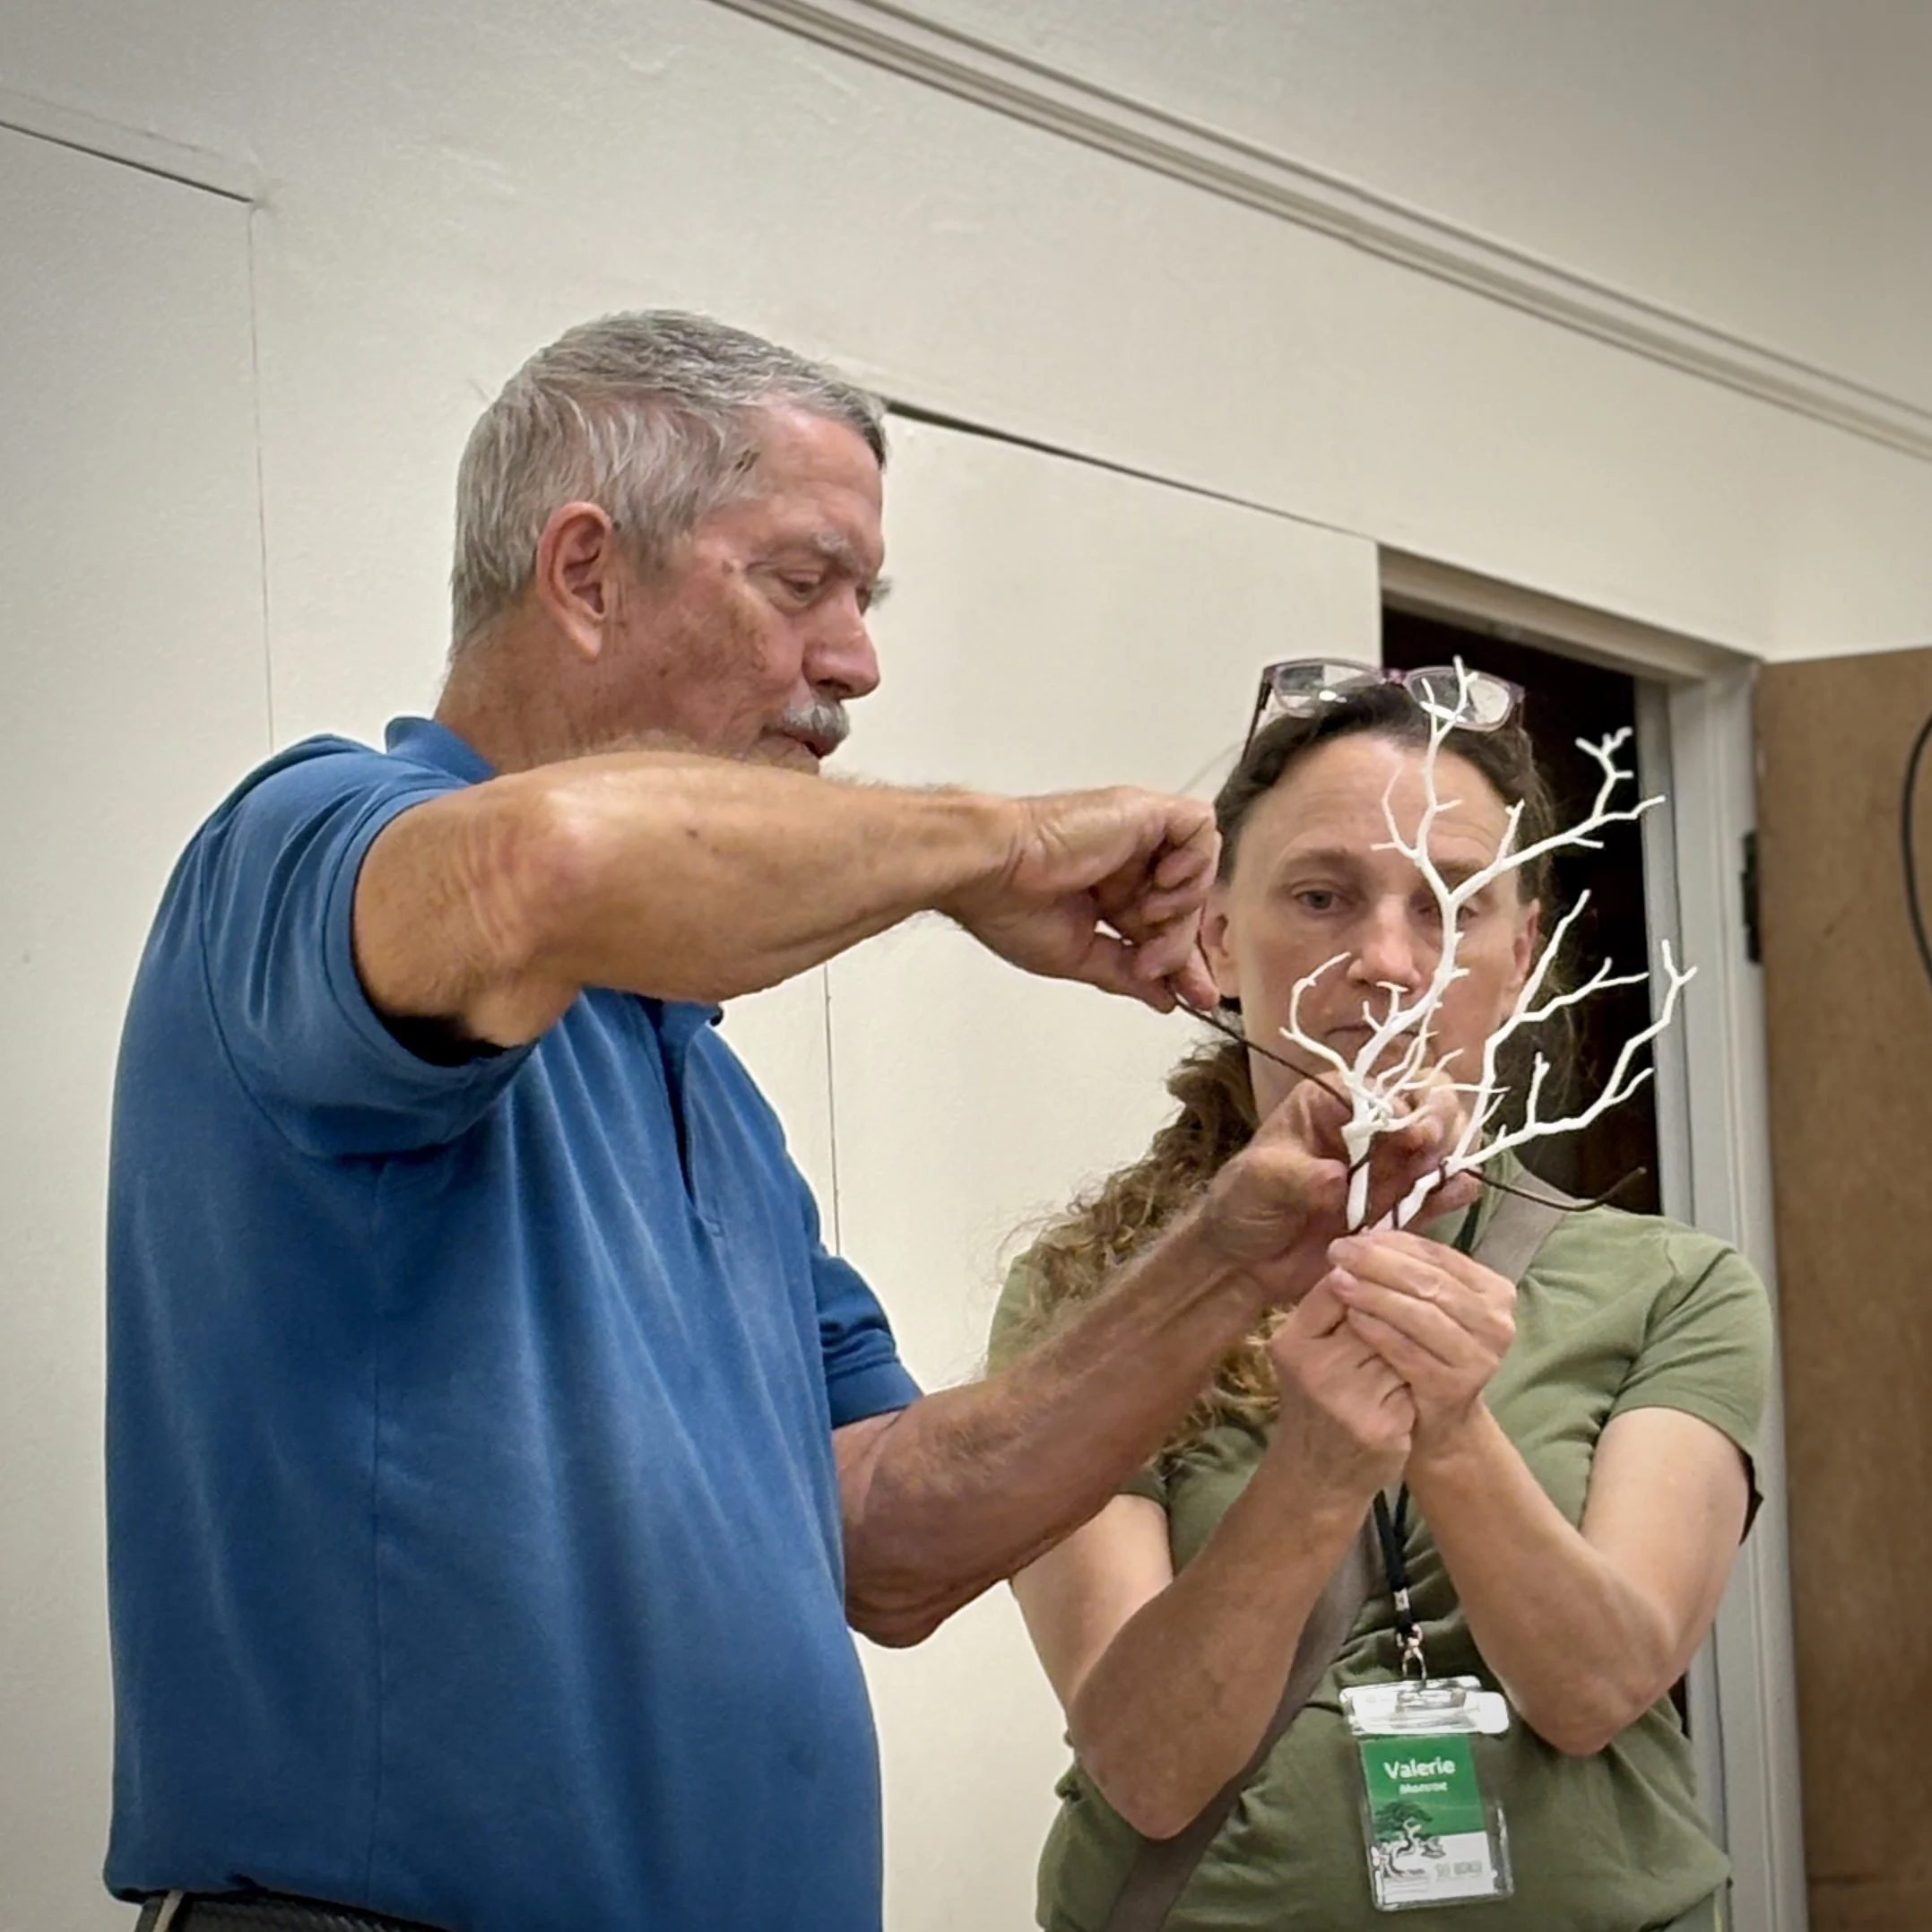
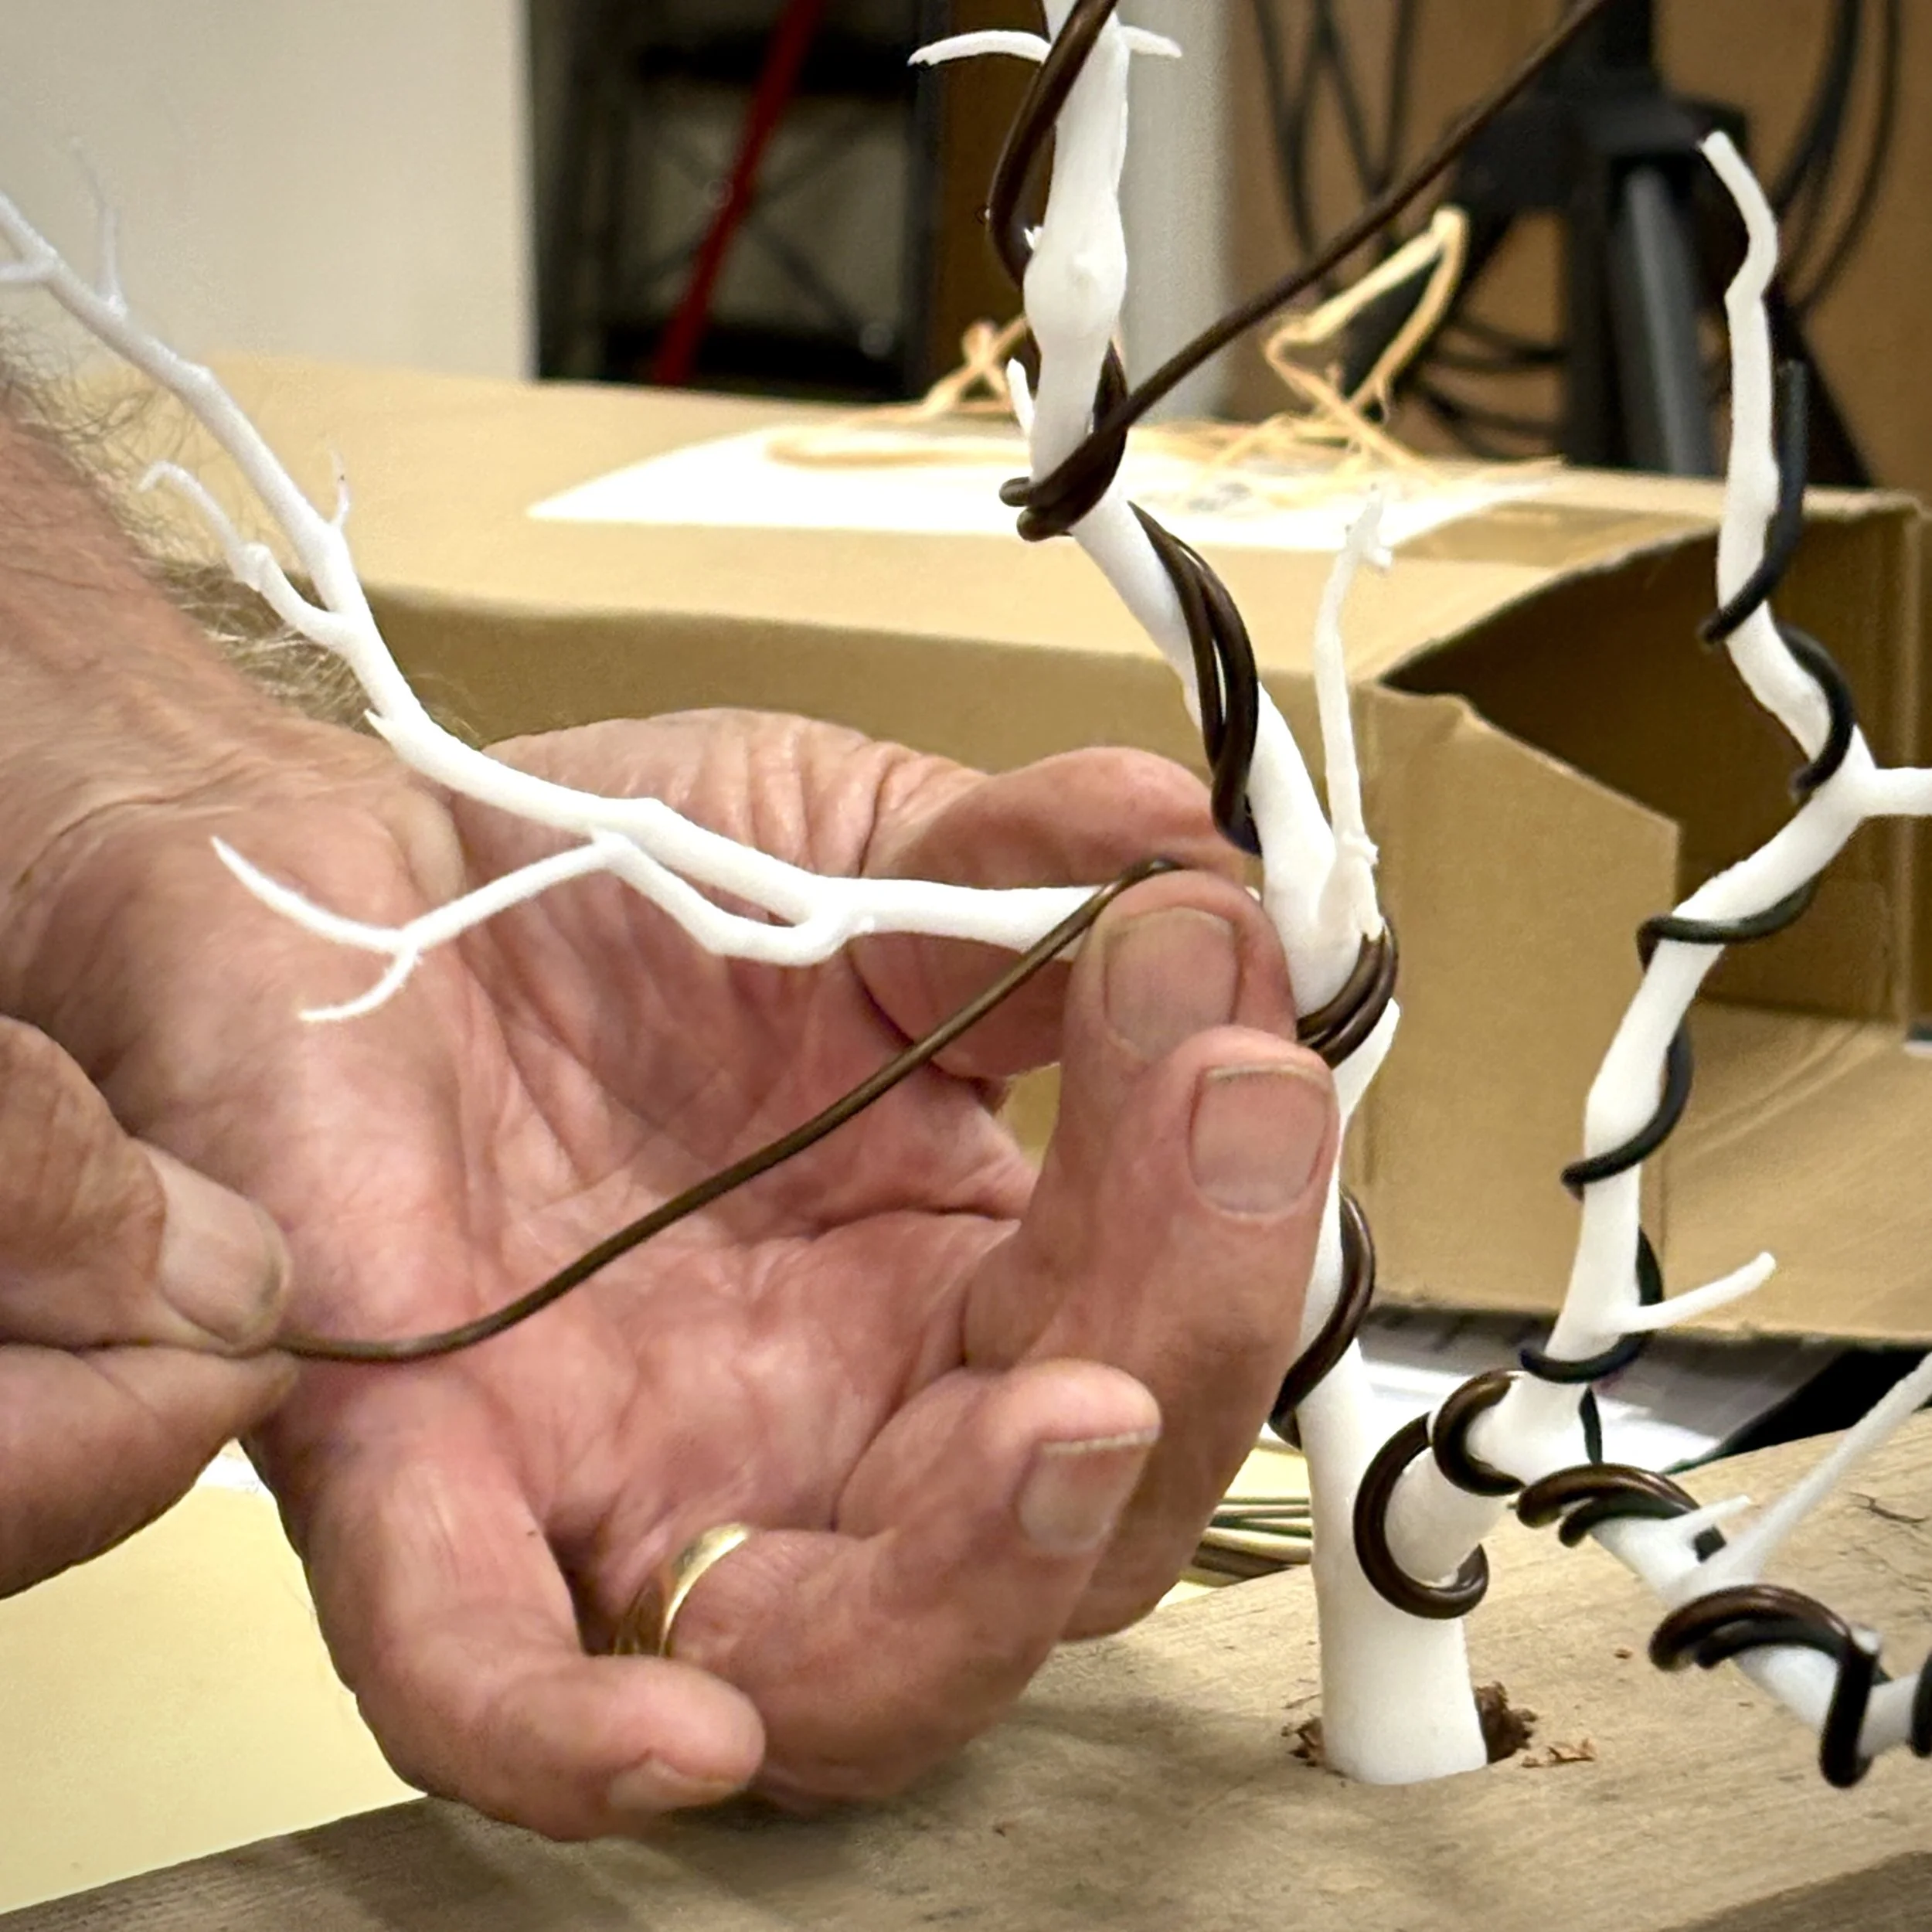
The right hand's job - hold the end of the wire from the tip with thumb and forefinger - lay wire on the trunk or branch in a spiral fashion using the right forefinger as necessary to prebend and guide the placement of the wire while other fingers help clear foliage and twigs from path of wire.
The left hand supports the branch and wire from below and just behind the point of application and the left fingers move twigs and foliage out the wire's way and twist branches as the wire is applied so that twigs will grow upwards or to the side rather than downwards.
Change support position after each spiral.
Applying the Wire -Anchor 1st -
Bend a "U" in the wire at the length of the 1st branch. Fit the "U" behind the branch/ trunk junction and support it there with the left hand while you wrap the wire around the branch 1 ½ - 2 times with your right to anchor it. Reverse hands and support the partially wired branch with your left hand while wrapping the other end of the wire out to the end of the 2nd branch.
Then go back and finish the 1st branch.
With a light touch, hold the wire straight out at the end with thumb and forefinger and gently Pre-bend the wire and lay it easily onto the branch. Use the right forefinger as a more aggressive guide in tough areas. Don't use the branch as a fulcrum as you will crush the bark and scar the branch.
Adjustments can be made for spacing the spirals by moving wire back and forth with right hand to compensate for oddly spaced twigs or branches.
Check regularly that there are no gaps between wire and branch. Use wire pliers as needed to adjust this.
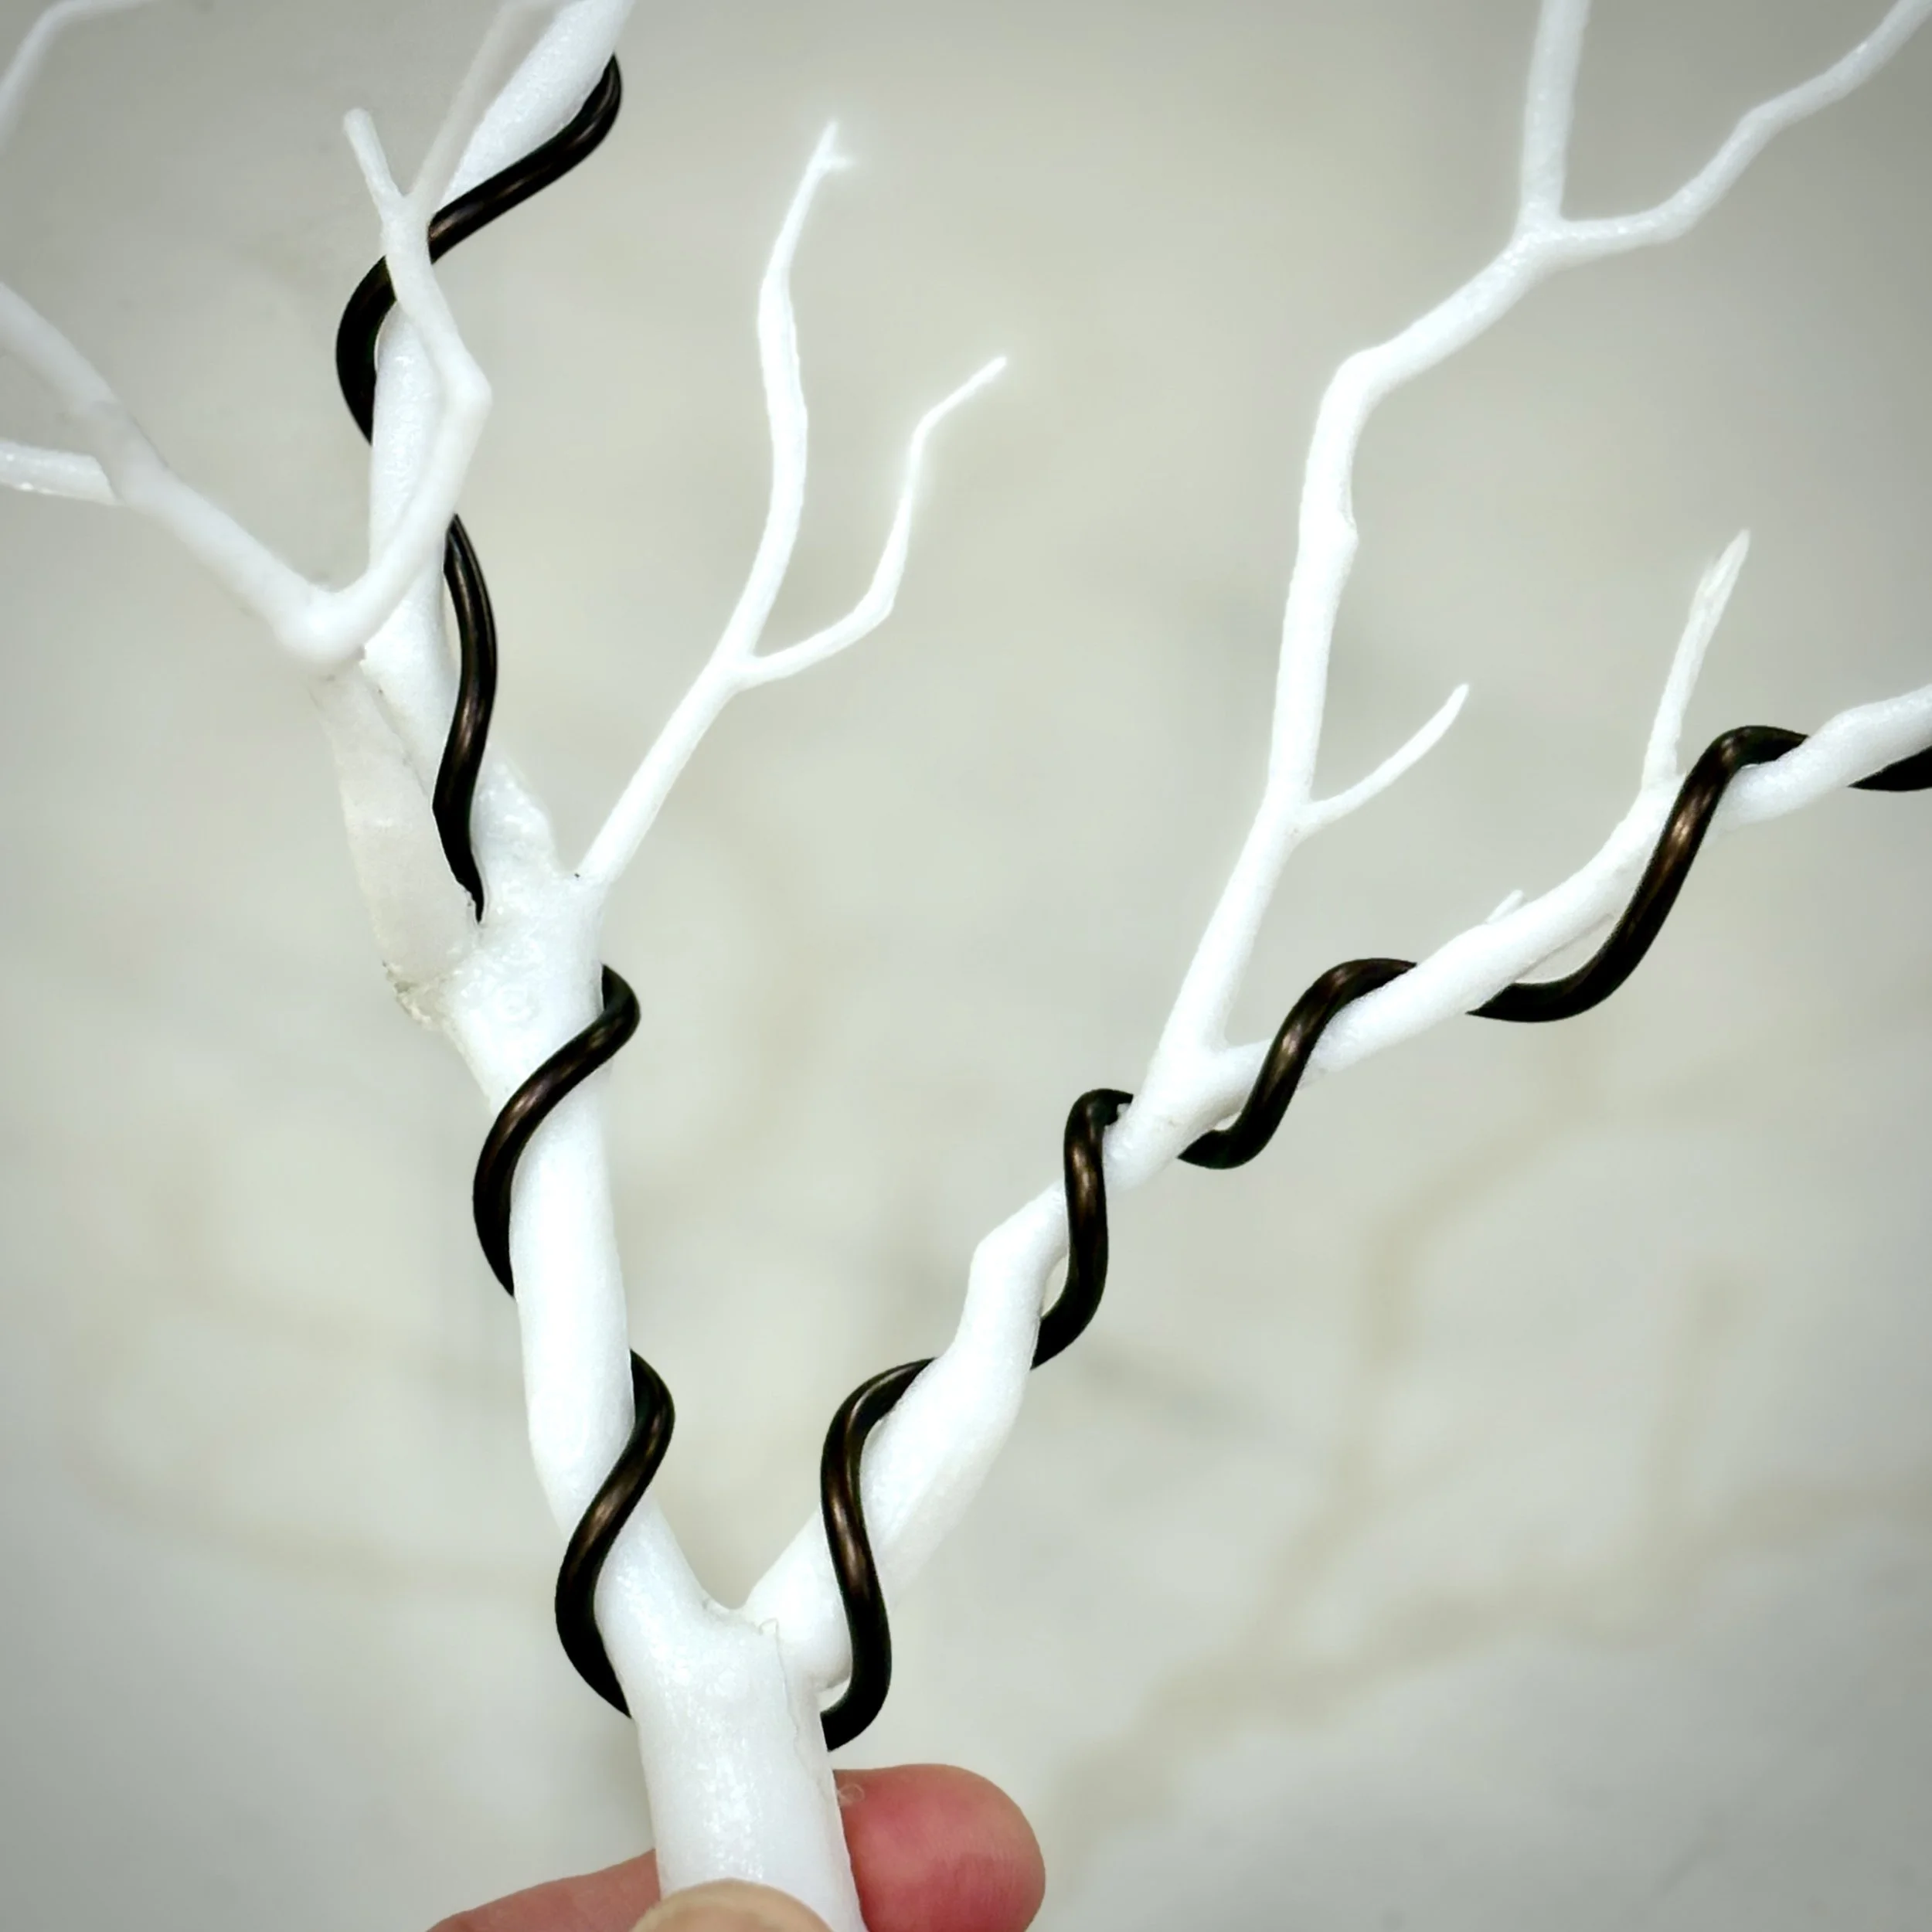
At the junction between branch and trunk, if the branch is to be bent down the first spiral should start over the top of the branch. If the branch is to be bent up the first spiral should start beneath the branch.
Conifer branches grow downward and out so you would typically start spiral wire above branch. Hardwood branches go up so start wire below. Be consistent so that secondary wires will fit without crossing over another wire.
If you twist the branch as you bend it, apply the wire in the direction so that it will tighten, not loosen, as you twist.
The wire must come from the opposite side of the direction that the branch will be bent.
Wire equal-spaced spirals of about 45° to 35° (more open) on the branch. In this case, 90° girdles the branch and 0° is straight down the branch towards you without spiraling .
If there is no other branch close, wire one branch alone but anchor the wire by running it parallel with another wire for two revolutions or tucking the end under an existing wire.
In a pinch, you can double a wire and split the ends to wire two branches.
Before applying secondary wire, test to see if primary wire is able to make the bend. If the wire you applied is not sufficient to bend the branch, apply another wire of the same size along side of the first one. Different sized wires will slip if you use wire pliers to bend them.
Run any secondary wire snug alongside the existing primary wire for best anchor.
Use wire pliers to finish if the wire is too short or stiff.
Finish off the wire by bending the end under and across leaving a stub to the side.
Bending the branch
Hands and Wire Pliers
Push the wired branch into position at the point you want a bend while supporting with your left hand. Let your fingers feel the wood. Many times you can feel the wood slipping or creaking inside before the branch is ready to crack. Trust you fingers - not your eyes.
If you can't get sufficient bend with your hands or there is no room for your fingers, use tweezers or wire pliers to hold and stabilize the wire at the base of the bend. Leverage works wonders.
A turnbuckle on a wired branch can give and hold an even more acute bend.
Use raffia prior to wiring, lengthwise and spirally, to strengthen the branch if you think it might snap.
Paper -wrap wire to protect sensitive bark.
Wire should remain on until the branches have grown enough to hold their position. This may be 3 weeks or 2 years depending on species and growth. Check regularly.
Remove wire from branches as soon as the bark begins to grow around it; then re-wire immediately if it does not hold in place. In most cases, though, do not unwire the whole tree, only those branches that are affected.
Spray a solution of Anti-Stress 2000® or Cloud Cover® on wired branches to protect small cracks f ram drying out.
Practice will make lt easy and automatic.
Relax and enjoy it.