Forest planting workshop
The primary tree does not have to be in the front, but it should not be in the back, it could be in the Center line of the pot.
The primary tree should be either on the left one third or the right one third and not in the center
It should have variation in tree or trunk size, preferably with small smaller trees in the back to provide scale and depth
The primary trees should always bow towards the viewer or lean towards the viewer rather than back away from the viewer
The primary tree should not be leaning left or right, but should be commanding and more straight, whereas all of the other secondary and tertiary trees may lean away from vertical
The primary tree should be on the highest elevation of all of the other plants, which could be the largest root ball or sitting on top of more soilit is desirable to have an odd number of trees, even if some are very small
Avoid evenly, spaced trees, bring some closer together and some further away. Avoid spacing trees in a box or a square, a symmetry and organic patterns are preferred to look natural. Look for examples of forest, plantings or sketches how they map out primary secondary and tertiary trees.
The family of trees should be of one species, and of similar characteristic. If they are straight, then they should all be straight. If they are having movement, then all should have movement.
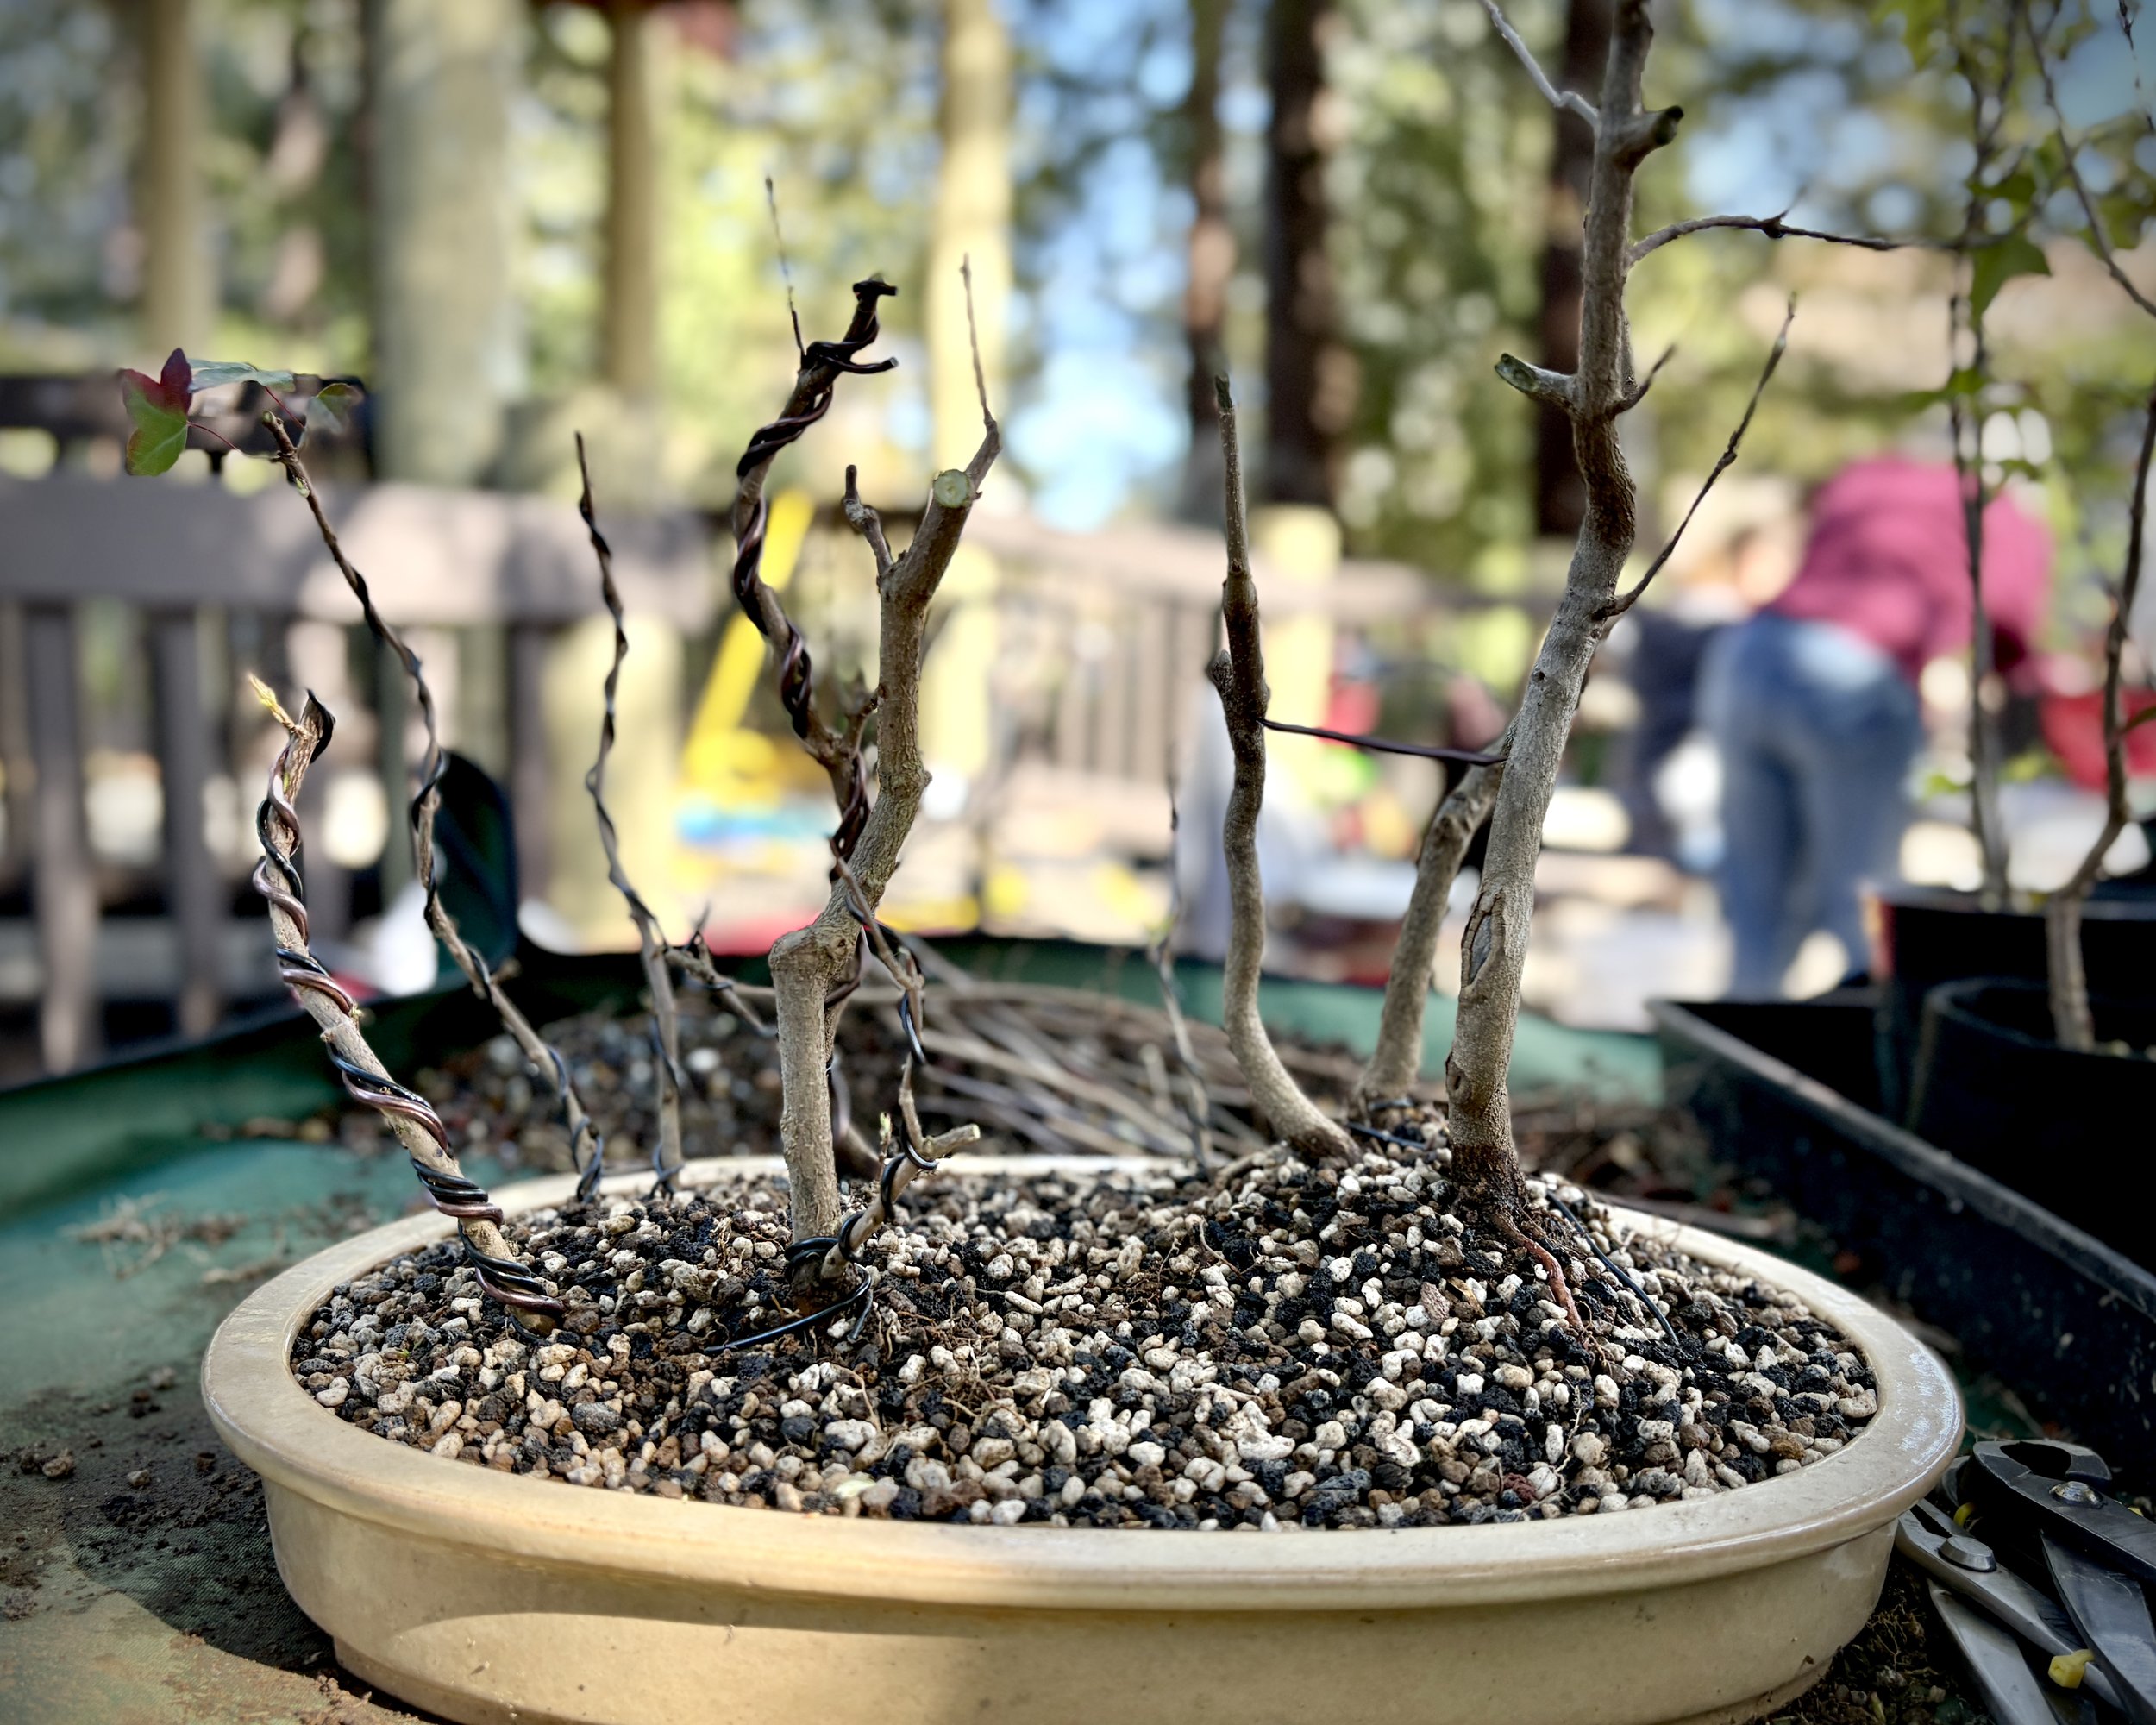
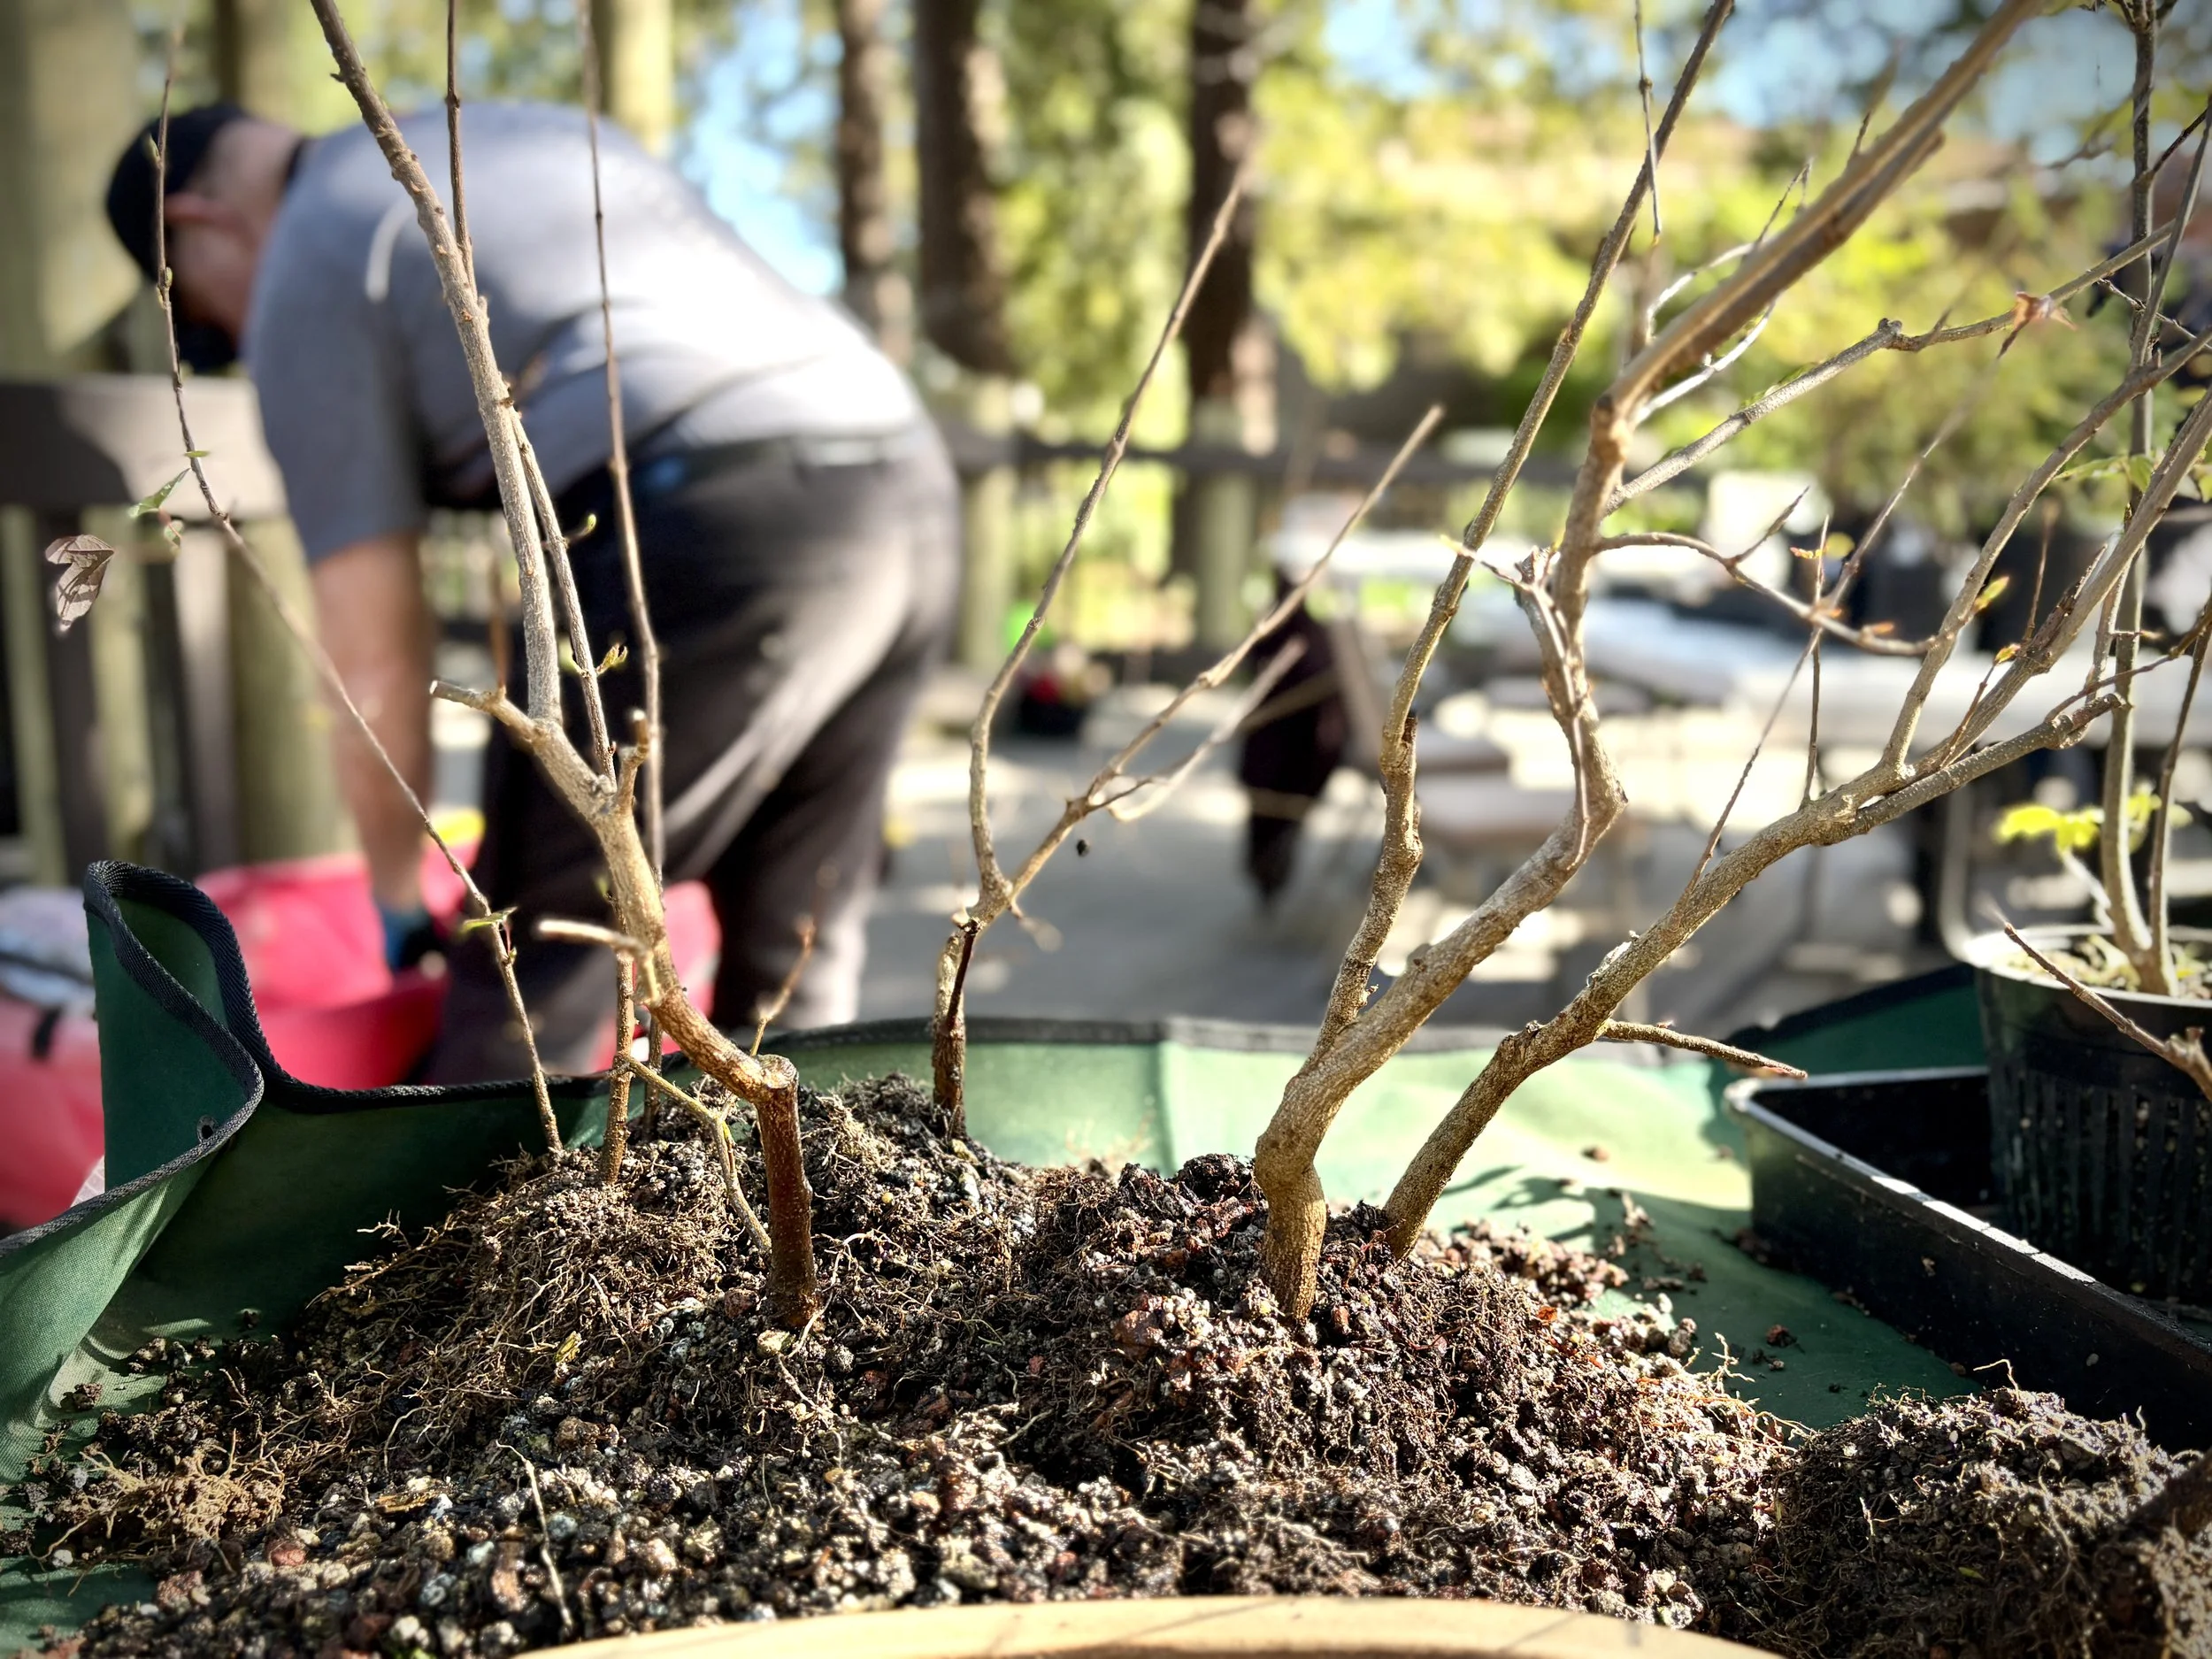
Prepare the trees by raking the soil out and doing root work so that the root ball may be sitting flat and even length of roots
Have a water spray bottle available and missed the roots frequently so I was not to dry or harm the plant
Some recommend that initial pruning of unwanted branches be done before securing them in place, so that there is less obstructed work, and seeing a clear realization of the desired composition. Remove branches or trunks that lack taper, remove branches in a crotch of branches.
Hooding larger trees closer together can be harder if each has a substantial root ball. So if you happen to grow them in pears or a triple or triplicate or triplet, and you wish to compose a group of planting them, those stronger trees will have roots that are already sharing the same space.
Position the grouping of the primary tree or trees in the 1/3 and roughly 70% of the rest of the trees will be in the last 1/3 away from the primary tree
Arrange them before doing any wiring, starting with the primary tree and working your way to the smallest.
One method would be to find a small group of trees that will be close together and with wires join the two or three with a spacer wire, and then the ends spiraling up the trunks so that they will be a freestanding unit
It is preferred to have a shallow tray, but depends on the species and how tall the root ball is, sometimes a deeper tray is needed
Prepare the drainage holes with screens. One method to stabilize trees is to take the bottom of an Anderson flat and cut it to shape so that there is a plastic lattice that can be wired to the pot and to the trees. While this is very flexible, to remove the Lattice later can be difficult to work the roots out of.
Another method is to use bamboo chopsticks and wire them in a broader lattice of six or more squares. Wiring that to the pot first leaving wires up out of the soil to secure trees too is a way to secure a group plenty. Cover with larger drainage soil followed by a mix of one: one: one: Bonsai mix.
Start by wiring in the primary tree and assemble composition as planned. Before wiring make final adjustments of position and rotation and angle, add soil and start to secure with the wire. Adjust if needed.
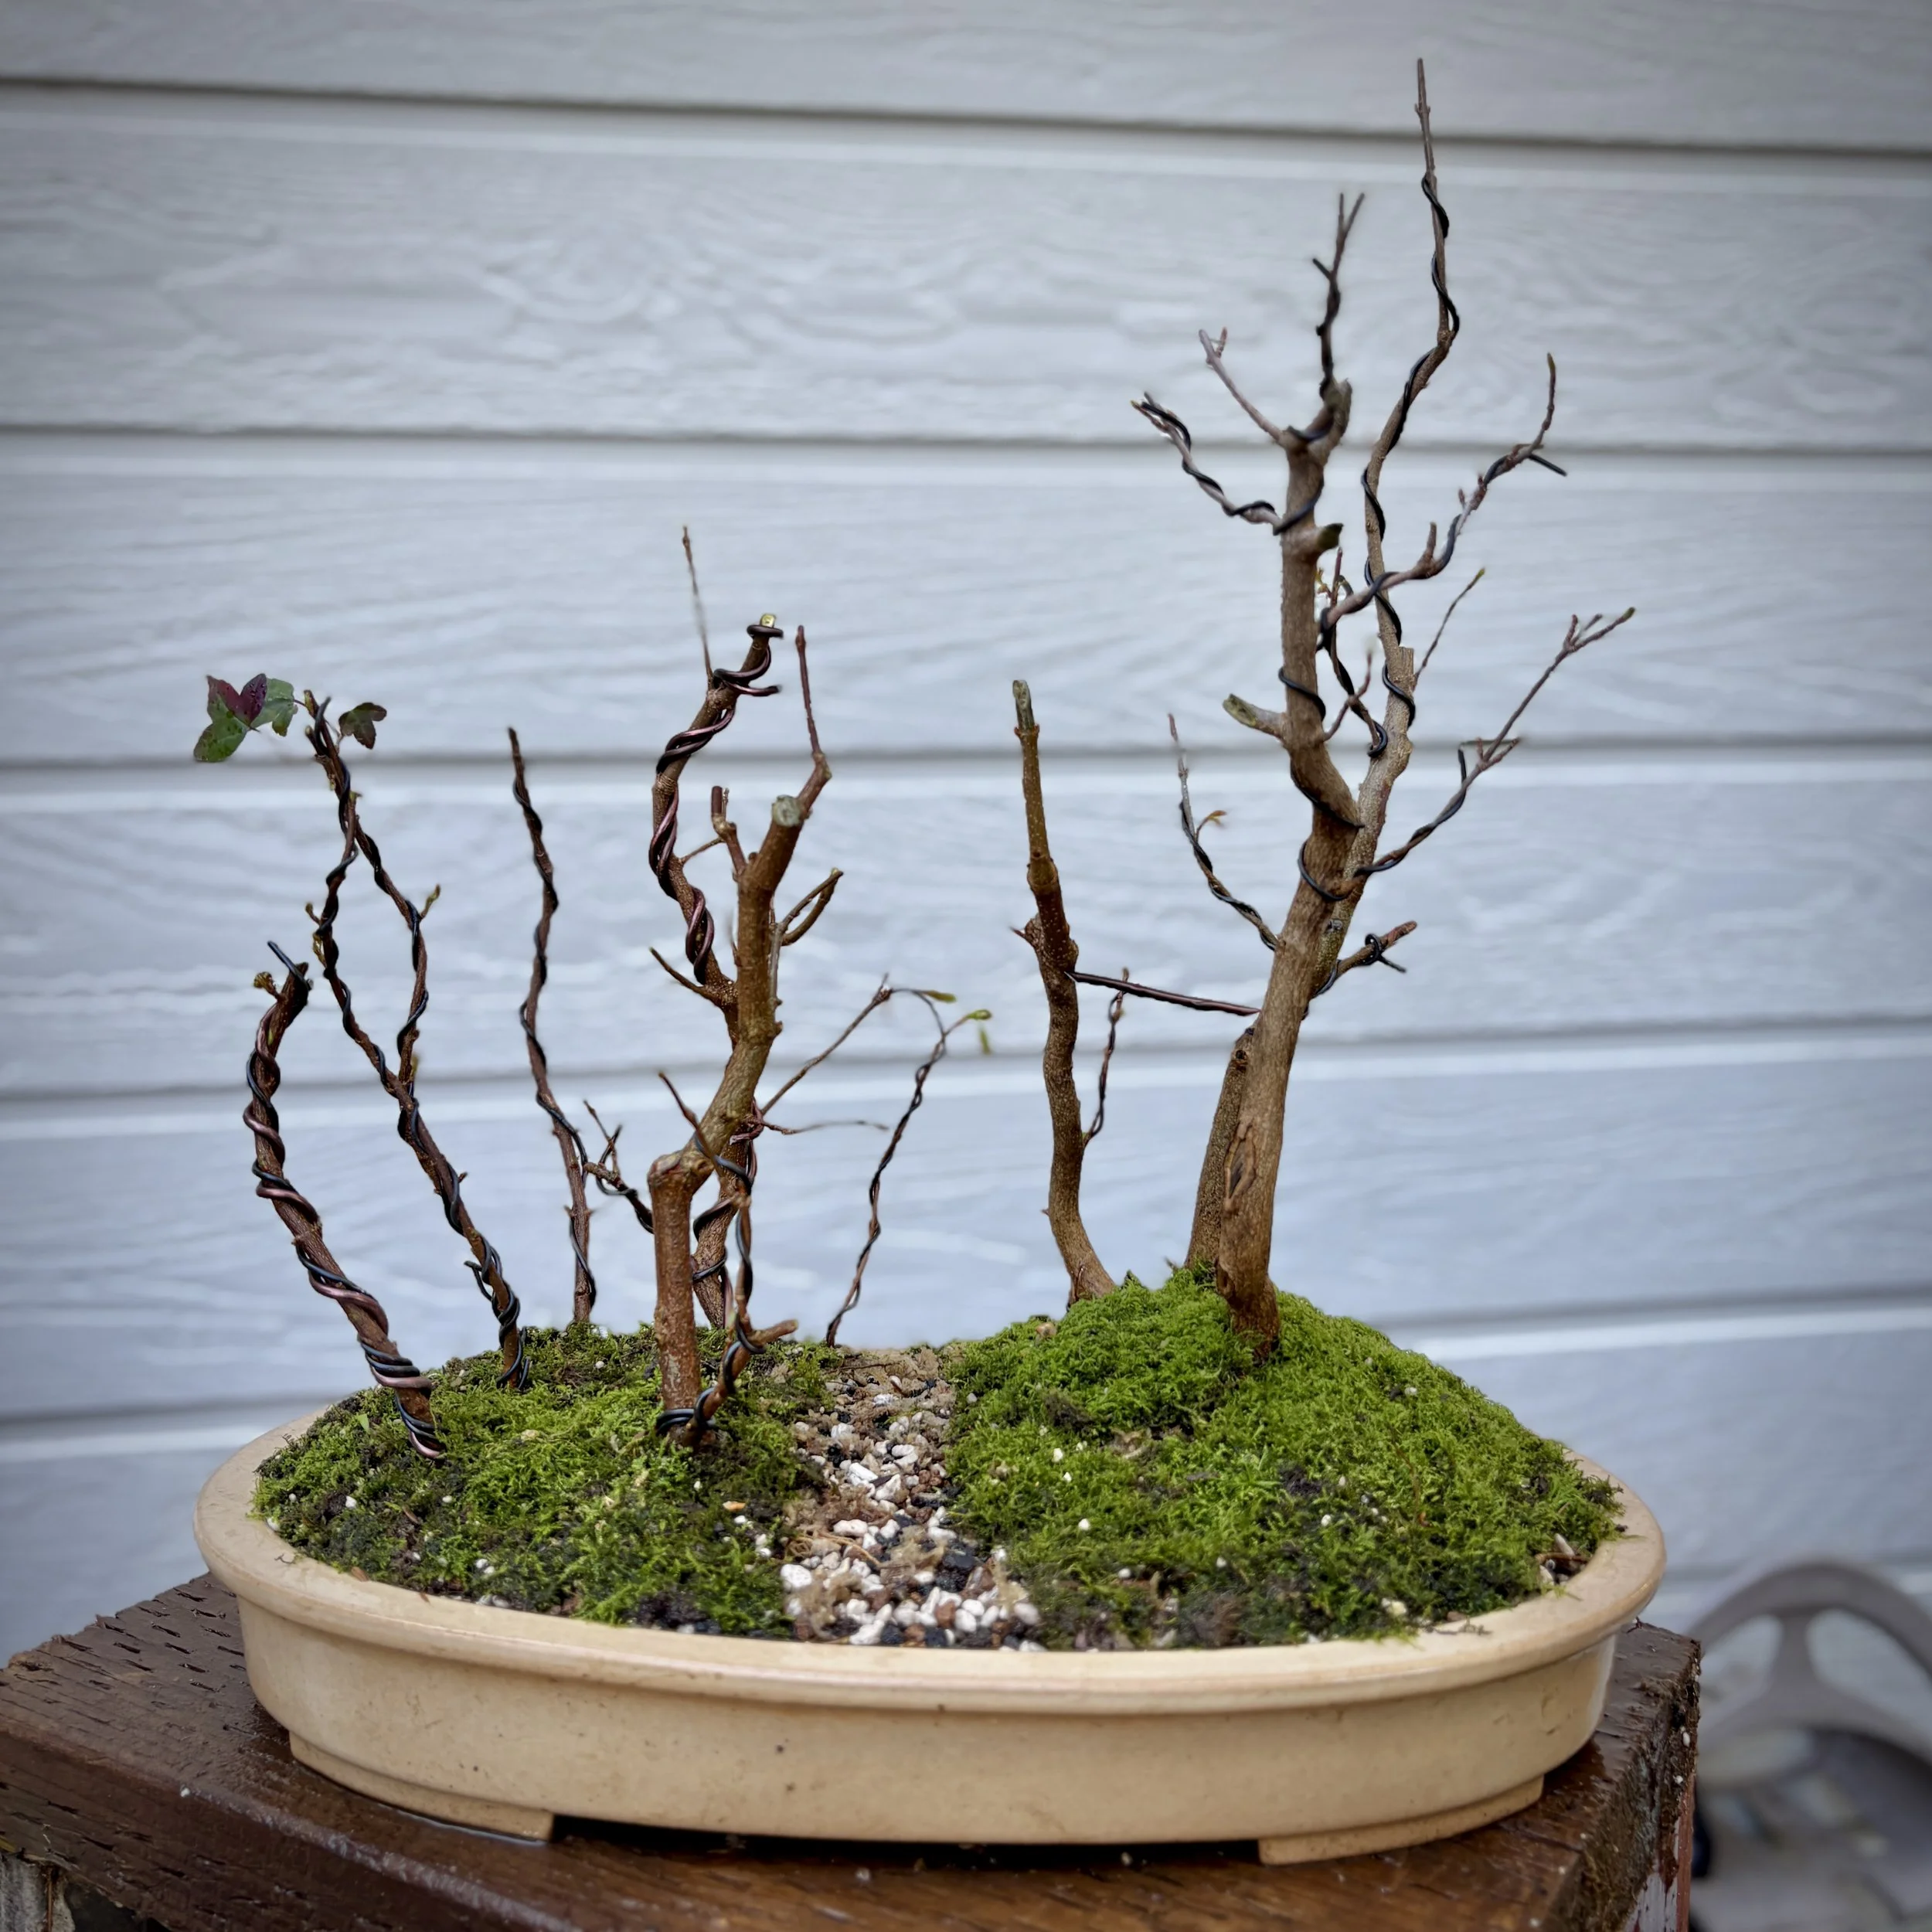
Between the primary 1/3 and the secondary 2/3 it is preferred to have negative space, where the I may find a passage through the group planting. Optimal placement would be to not have a straight clearing through the trees, which looks like a road, rather a wandering space or a curving space may improve the composition. This may be done by adding a few small trees at the back of the pot, which will break up the street clearing.
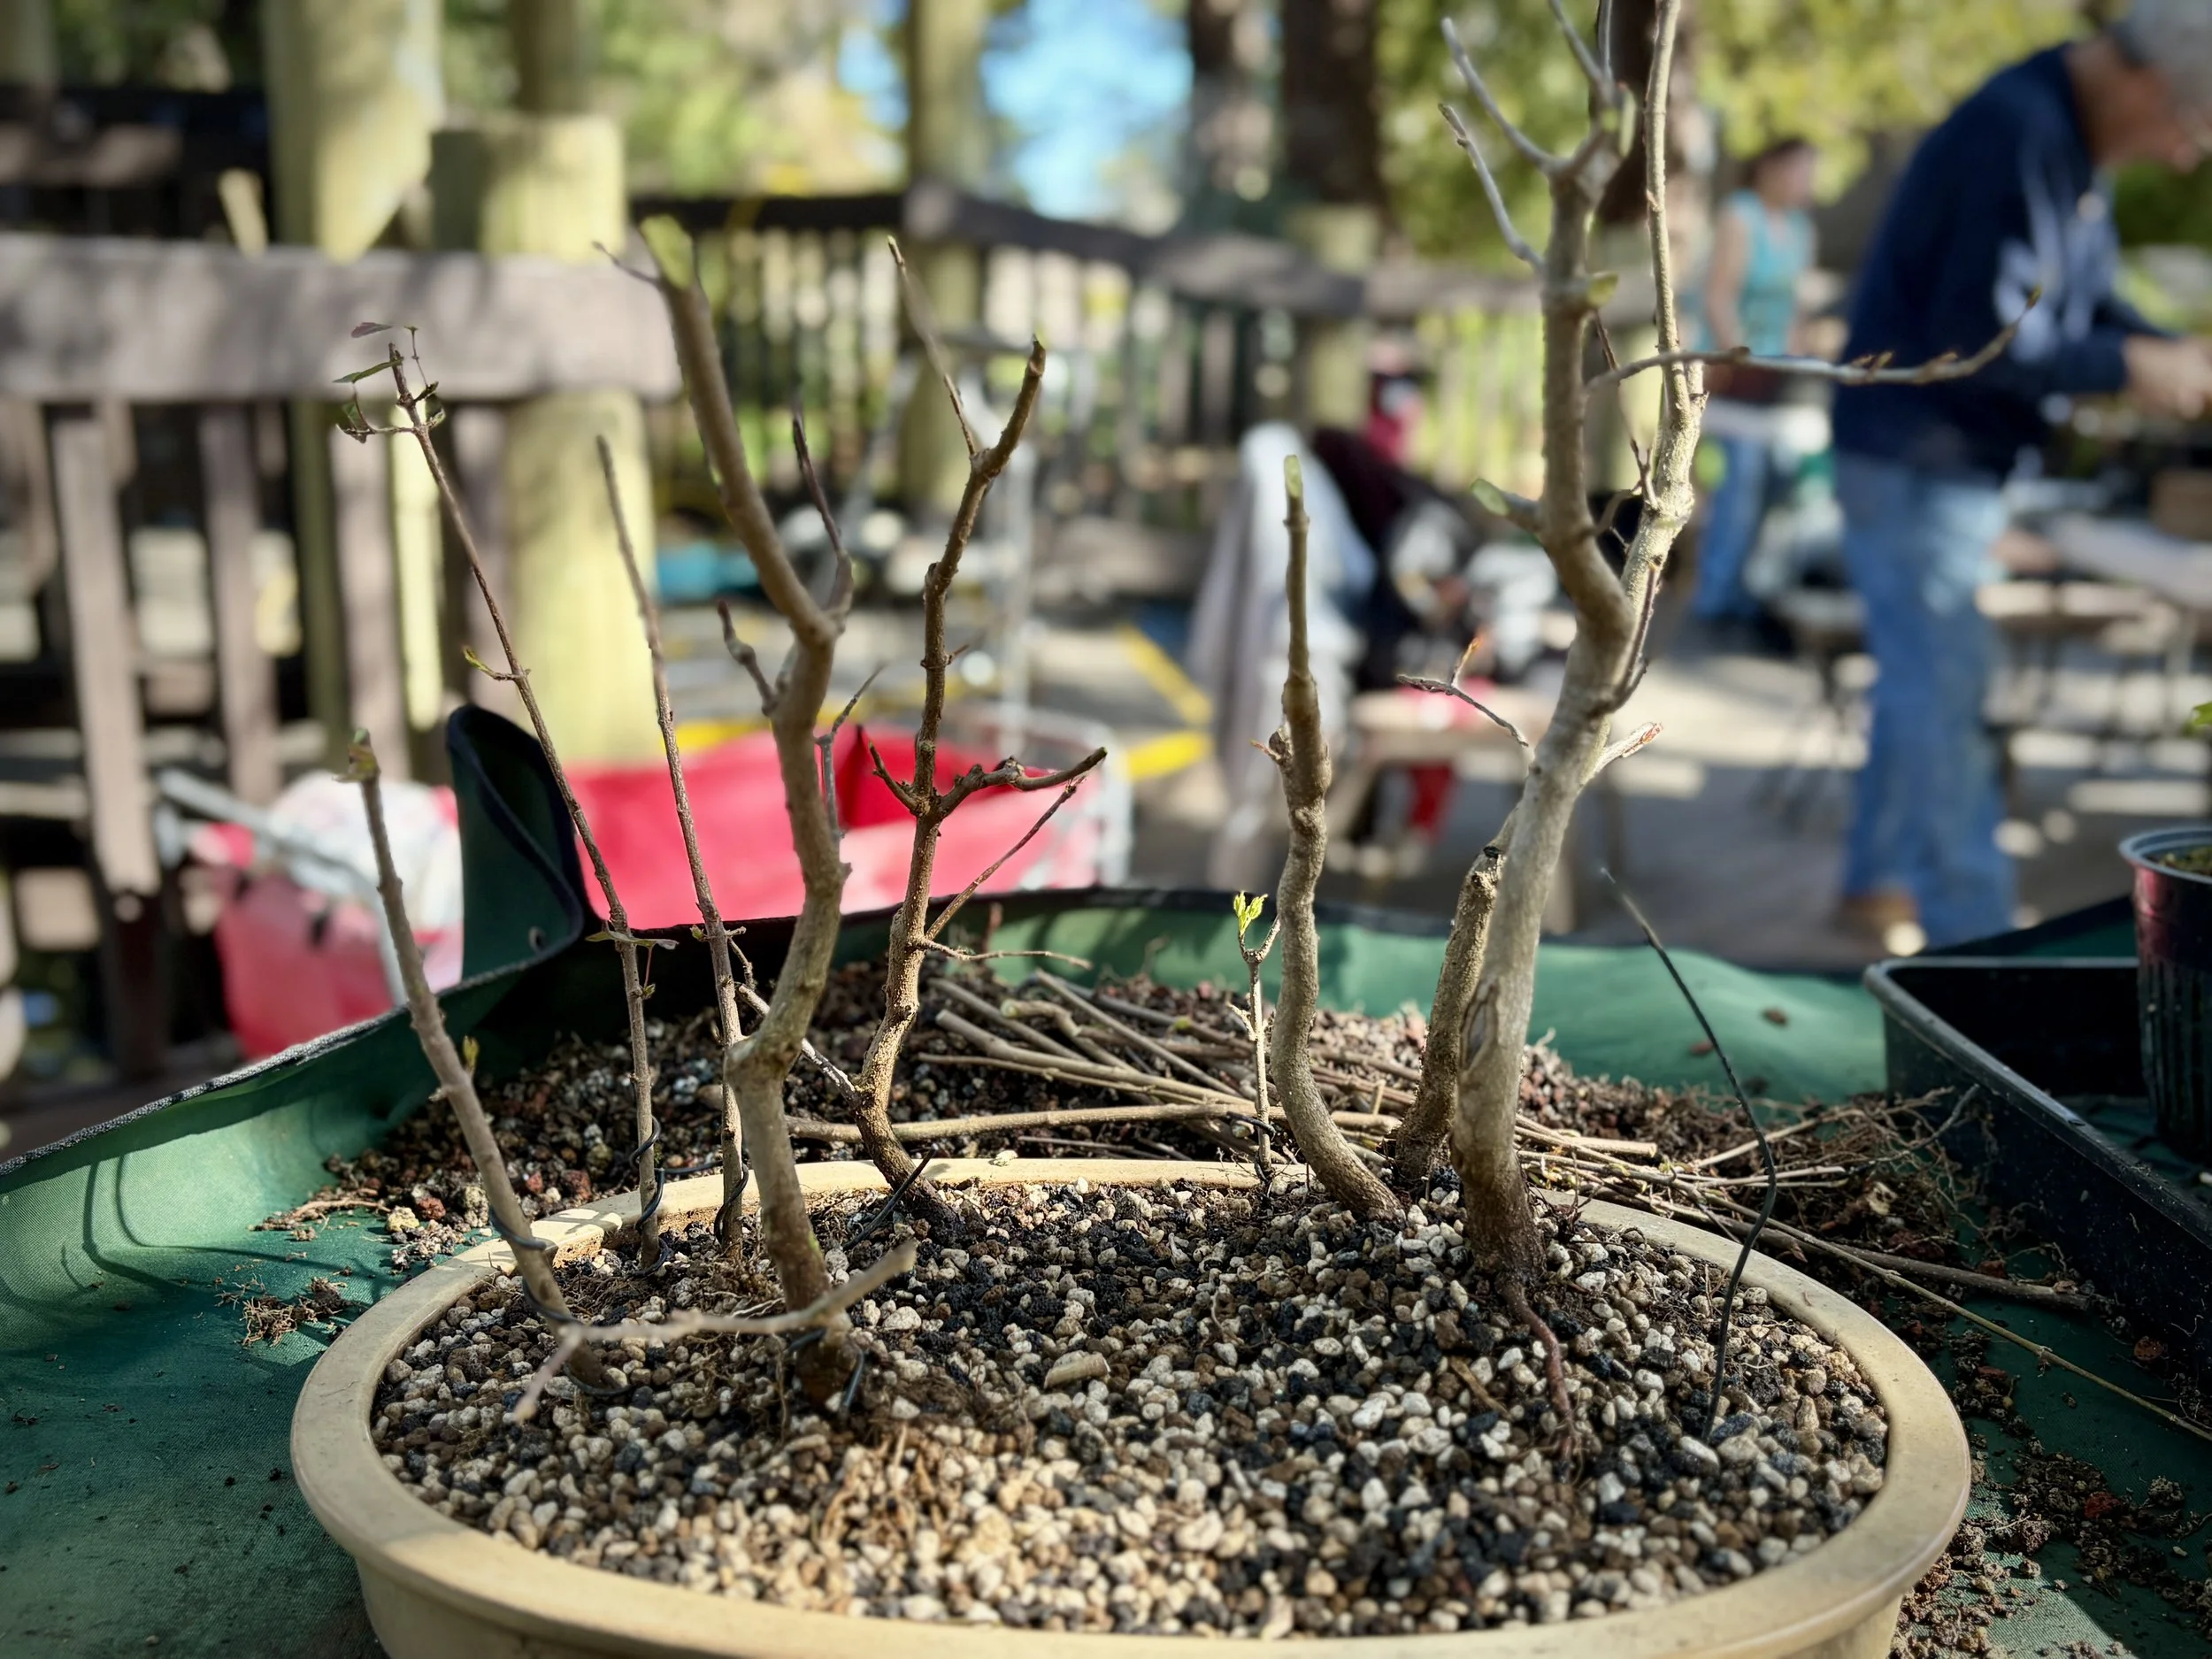
Look from the front and make sure that trees do not directly block the trees behind. Modify or shift or rotate or bend so that the trees may be seen from one perspective.
Look at your front and compare it with your plans. Adjustments may be needed by repositioning or rotating or angling a given tree. Look for your negative space. Look if additional branches need to be proved or wired.
Add soil and chopstick when satisfied can cover with shredded Fanum loss followed by any carpet moss. Gentle watering, thorough watering, wash any dirt out and let it grow out.
In terms of style, one model that inspired me was more of a clump or a copse. Where all the trees are close together, and as as the trees on the outer periphery of the grouping would angle outwards. A beautiful style, but if I were to do a negative space in between like a walking path, then the style looks a little strange. So one experienced practitioner suggested that the smaller outer trees do not continue to angle out when the other right side is more vertical. So while the bottom trunk may have angled outwards, the Apex would bend back towards the group.
Next Steps
The grouping on the left is too evenly spaced. May move smaller trees to be clusters of 2 and 3, or insert more smaller trees.
One sensei suggested a negative space between left and right, and another Sid to not make it as straight through—suggesting to angle it or curve it.
Wiring notes:
Use the gin, flyers and grip the wound wire, not the tree, and manipulate the bend of the wire and the tree will follow.
The one with the tree, don’t fight it, if you feel tree is about to break, and you are conscious of that you will avoid a break